


How to Get Water out of Camera?
This article provides a detailed step-by-step guide on how to remove water from your camera and minimize potential damage.
Step 1: Emergency Actions (Performed Immediately After Water Exposure)
1. Disconnect the power immediately.
This is the most critical step. Cutting off power helps prevent short circuits and permanent damage to internal components.
2. Remove the device
If possible, carefully remove the camera from its installed position.
3. Dry the exterior
- Use a clean, absorbent soft cloth (such as a microfiber cloth) to gently wipe the housing, lens surface, and seams.
- Hold the camera with the lens facing downward and gently shake it to remove any remaining water droplets.
- Use a hair dryer on low heat only. Never use hot air directly, as high temperatures may damage internal components or cause the lens adhesive to loosen.
Step 2: Assess the Water Exposure Level
- Minor fog or moisture on the lens surface or inside the lens caused by temperature differences or high humidity
- Water has entered the housing, but the main circuit board may not be heavily soaked
- The device has been partially or fully submerged in water
Step 3: Take Appropriate Actions Based on the Situation
Case 1: Minor Fog or Moisture Inside or Outside the Lens
- Place the camera in a sealed container with a sufficient amount of desiccant.
- Leave it for 1–2 days to allow the desiccant to slowly absorb internal moisture.
- Alternatively:
- Use a hair dryer set to low heat and low airflow, keeping a distance of about 30 cm (12 inches).
- Move the dryer continuously to avoid localized overheating, and ensure only low-temperature air is used throughout the process.
Case 2: Minor Water Ingress or Severe Water Exposure
Deep drying is required:
- Use the same drying method described above, but extend the drying time to 3–7 days.
- Replace the desiccant regularly, once it becomes saturated.
- If desiccant is not available in an emergency, uncooked rice may be used as a temporary alternative due to its moisture-absorbing properties.
Step 4: Testing and Follow-Up Solutions
1. Power on only after the camera is completely dry
Ensure all internal components are fully dry before reconnecting the power supply.
2. Image still shows water stains
If water marks or stains remain on the inner side of the lens and cannot be removed, please refer to the article "How to Clean the Lens?".
If possible, we recommend having the lens cleaned by a professional.
3. Device malfunction
If the camera does not power on or functions abnormally after drying, please contact our support team immediately for assistance.
How to Prevent Water Damage in the Future
Taking preventive measures can significantly reduce the risk of water ingress:
1. Choose cameras with a high waterproof rating
Use cameras rated IP66 / IP67 or higher.
(All CYVIO outdoor cameras are designed with IP66/IP67 waterproof protection.)
2. Ensure proper installation and sealing
- Make sure waterproof rubber gaskets are intact during installation.
- Seal cable connections using waterproof tape and junction boxes.
- Regularly check sealing rings for aging or damage and replace them if necessary.
- For battery-powered cameras, ensure charging ports, SD card covers, and other openings are properly sealed.
- For inverted-mounted cameras, ensure the camera is installed in the correct inverted orientation.
3. Choose an appropriate installation location
- Avoid installing cameras where they are directly exposed to heavy rain or dripping water.
- Keep them away from drainage areas or locations prone to water accumulation.
- Use eaves or other structures to provide additional protection.
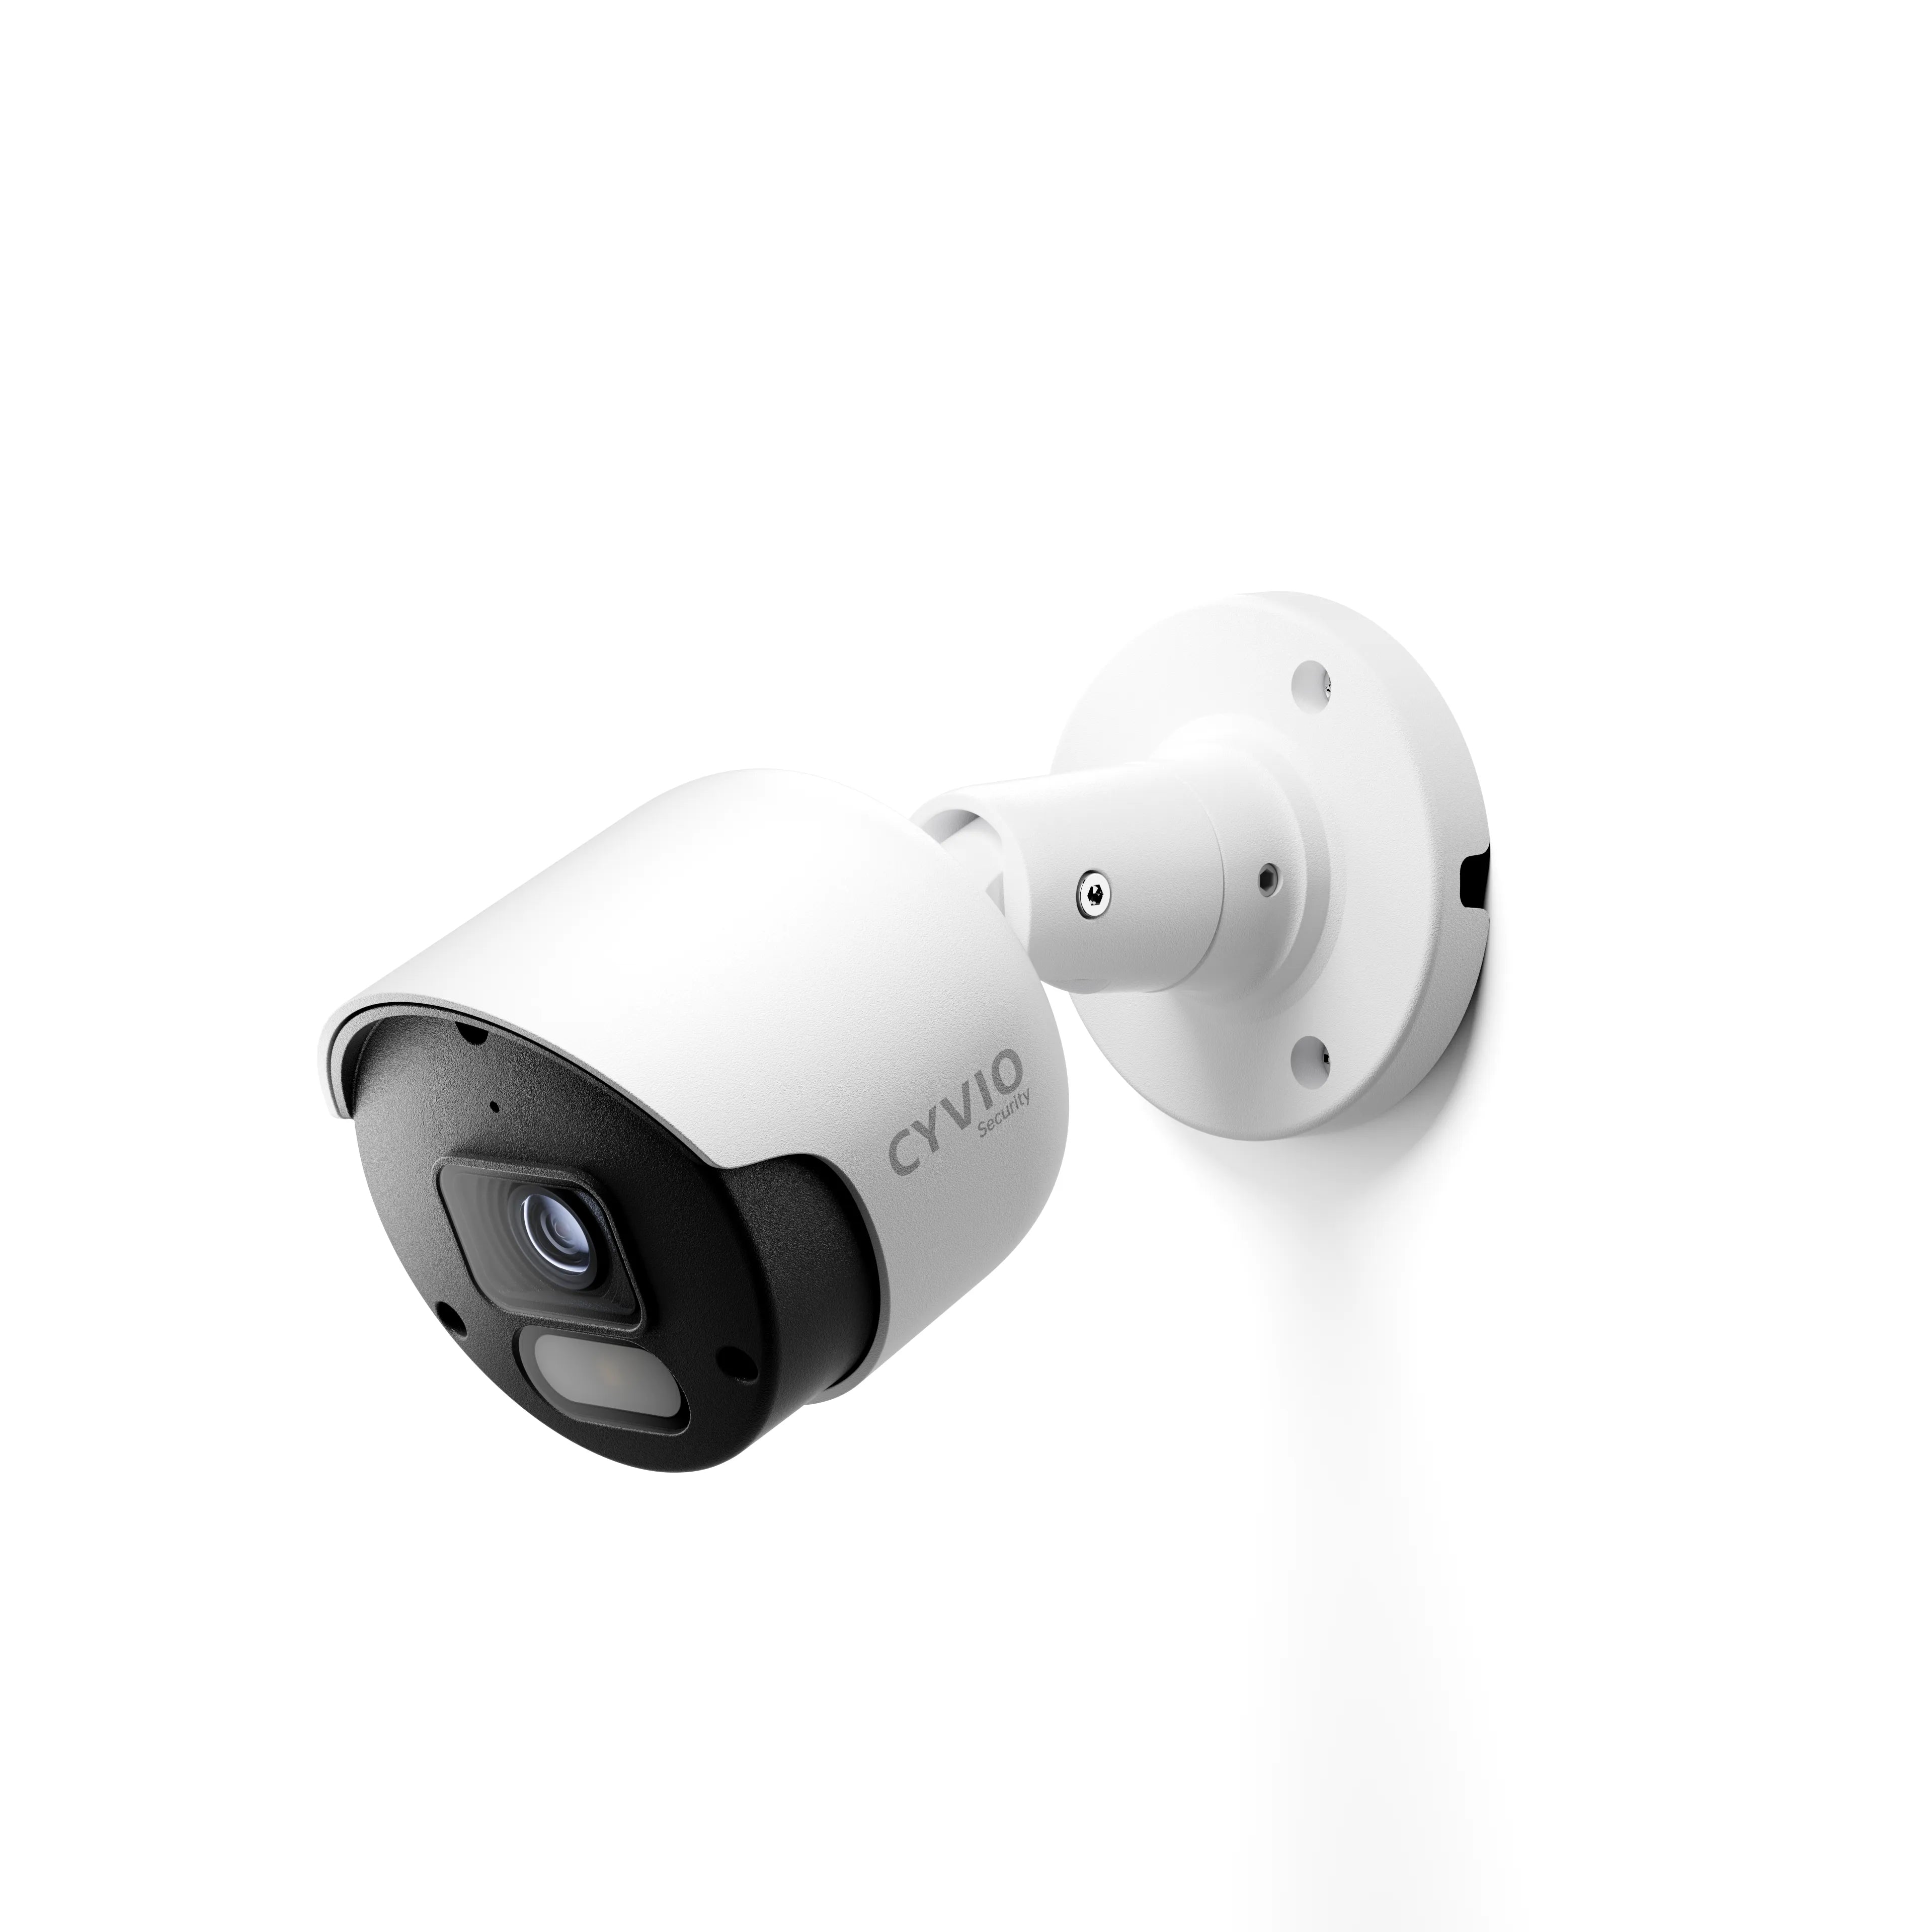
- For bullet-style cameras, install them with the lens angled slightly downward to prevent rainwater from flowing onto the lens surface.
4. Use protective accessories
Install a professional outdoor protective housing for additional protection.