


How to Initially Set up CYVIO Solar Battery Cameras B220/B221 via CYVIO App?
This article will guide you step by step on how to complete the initial setup of your CYVIO Battery-Powered WiFi Camera using the CYVIO App.
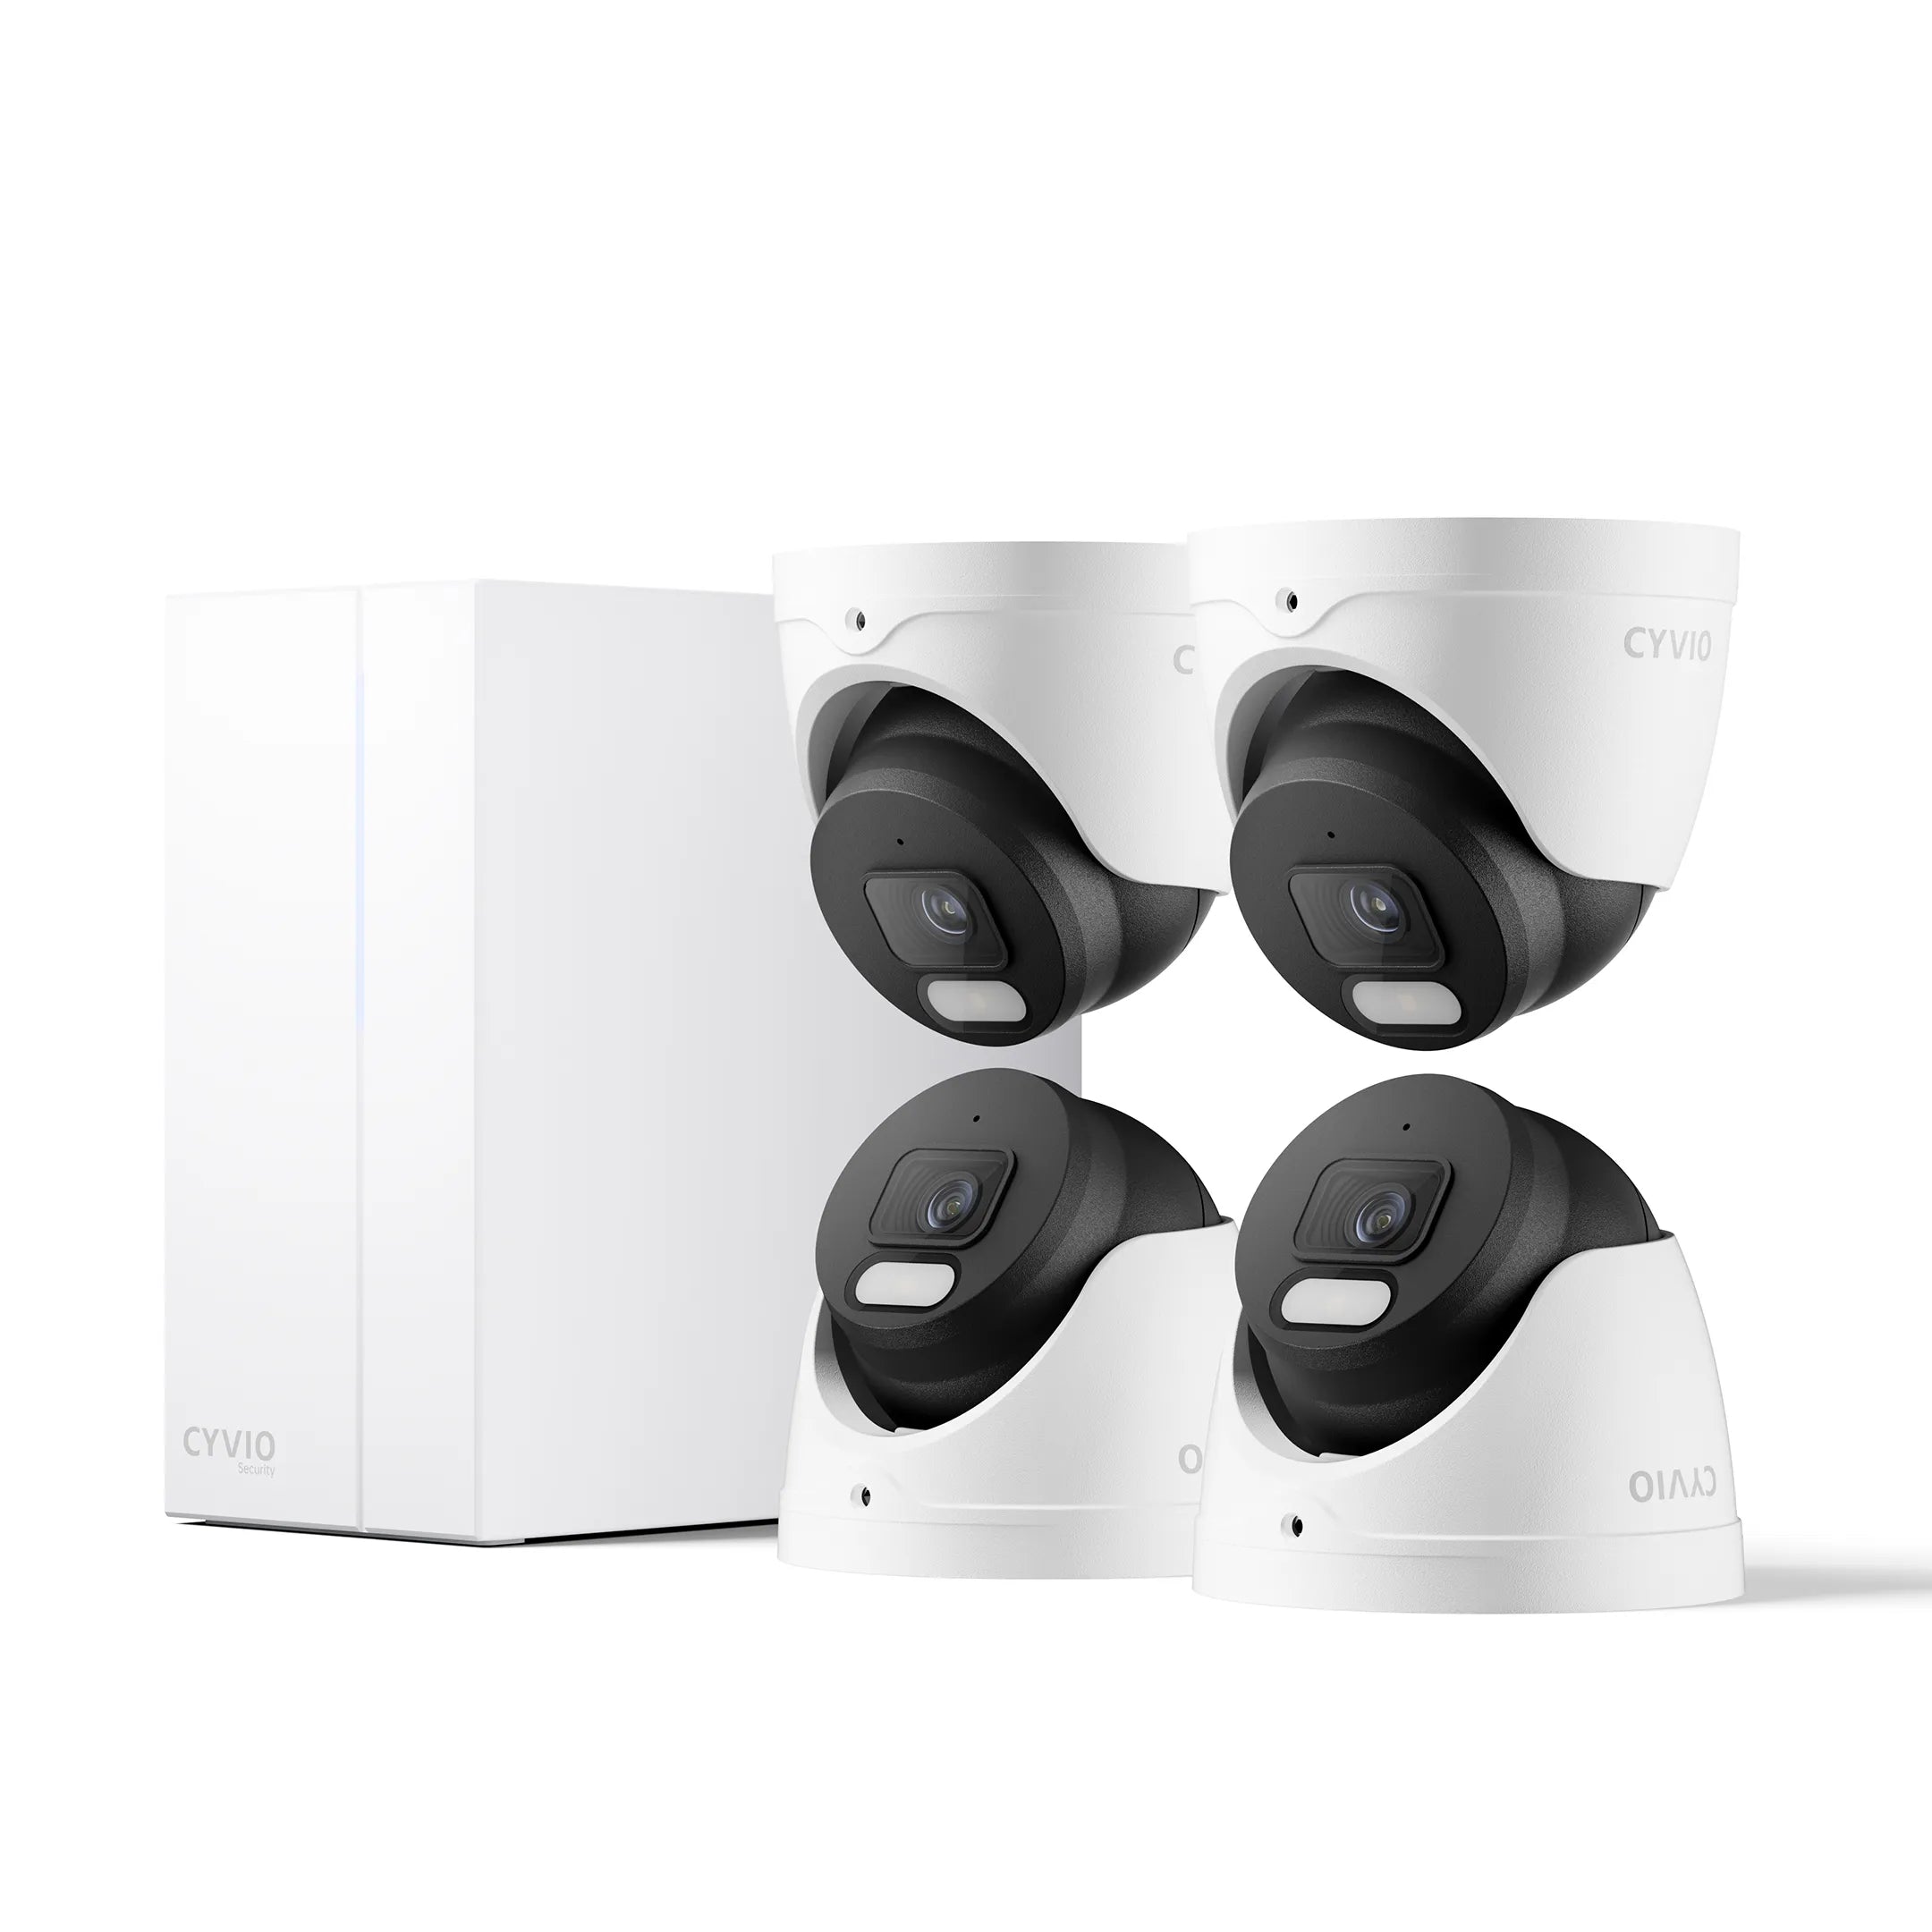
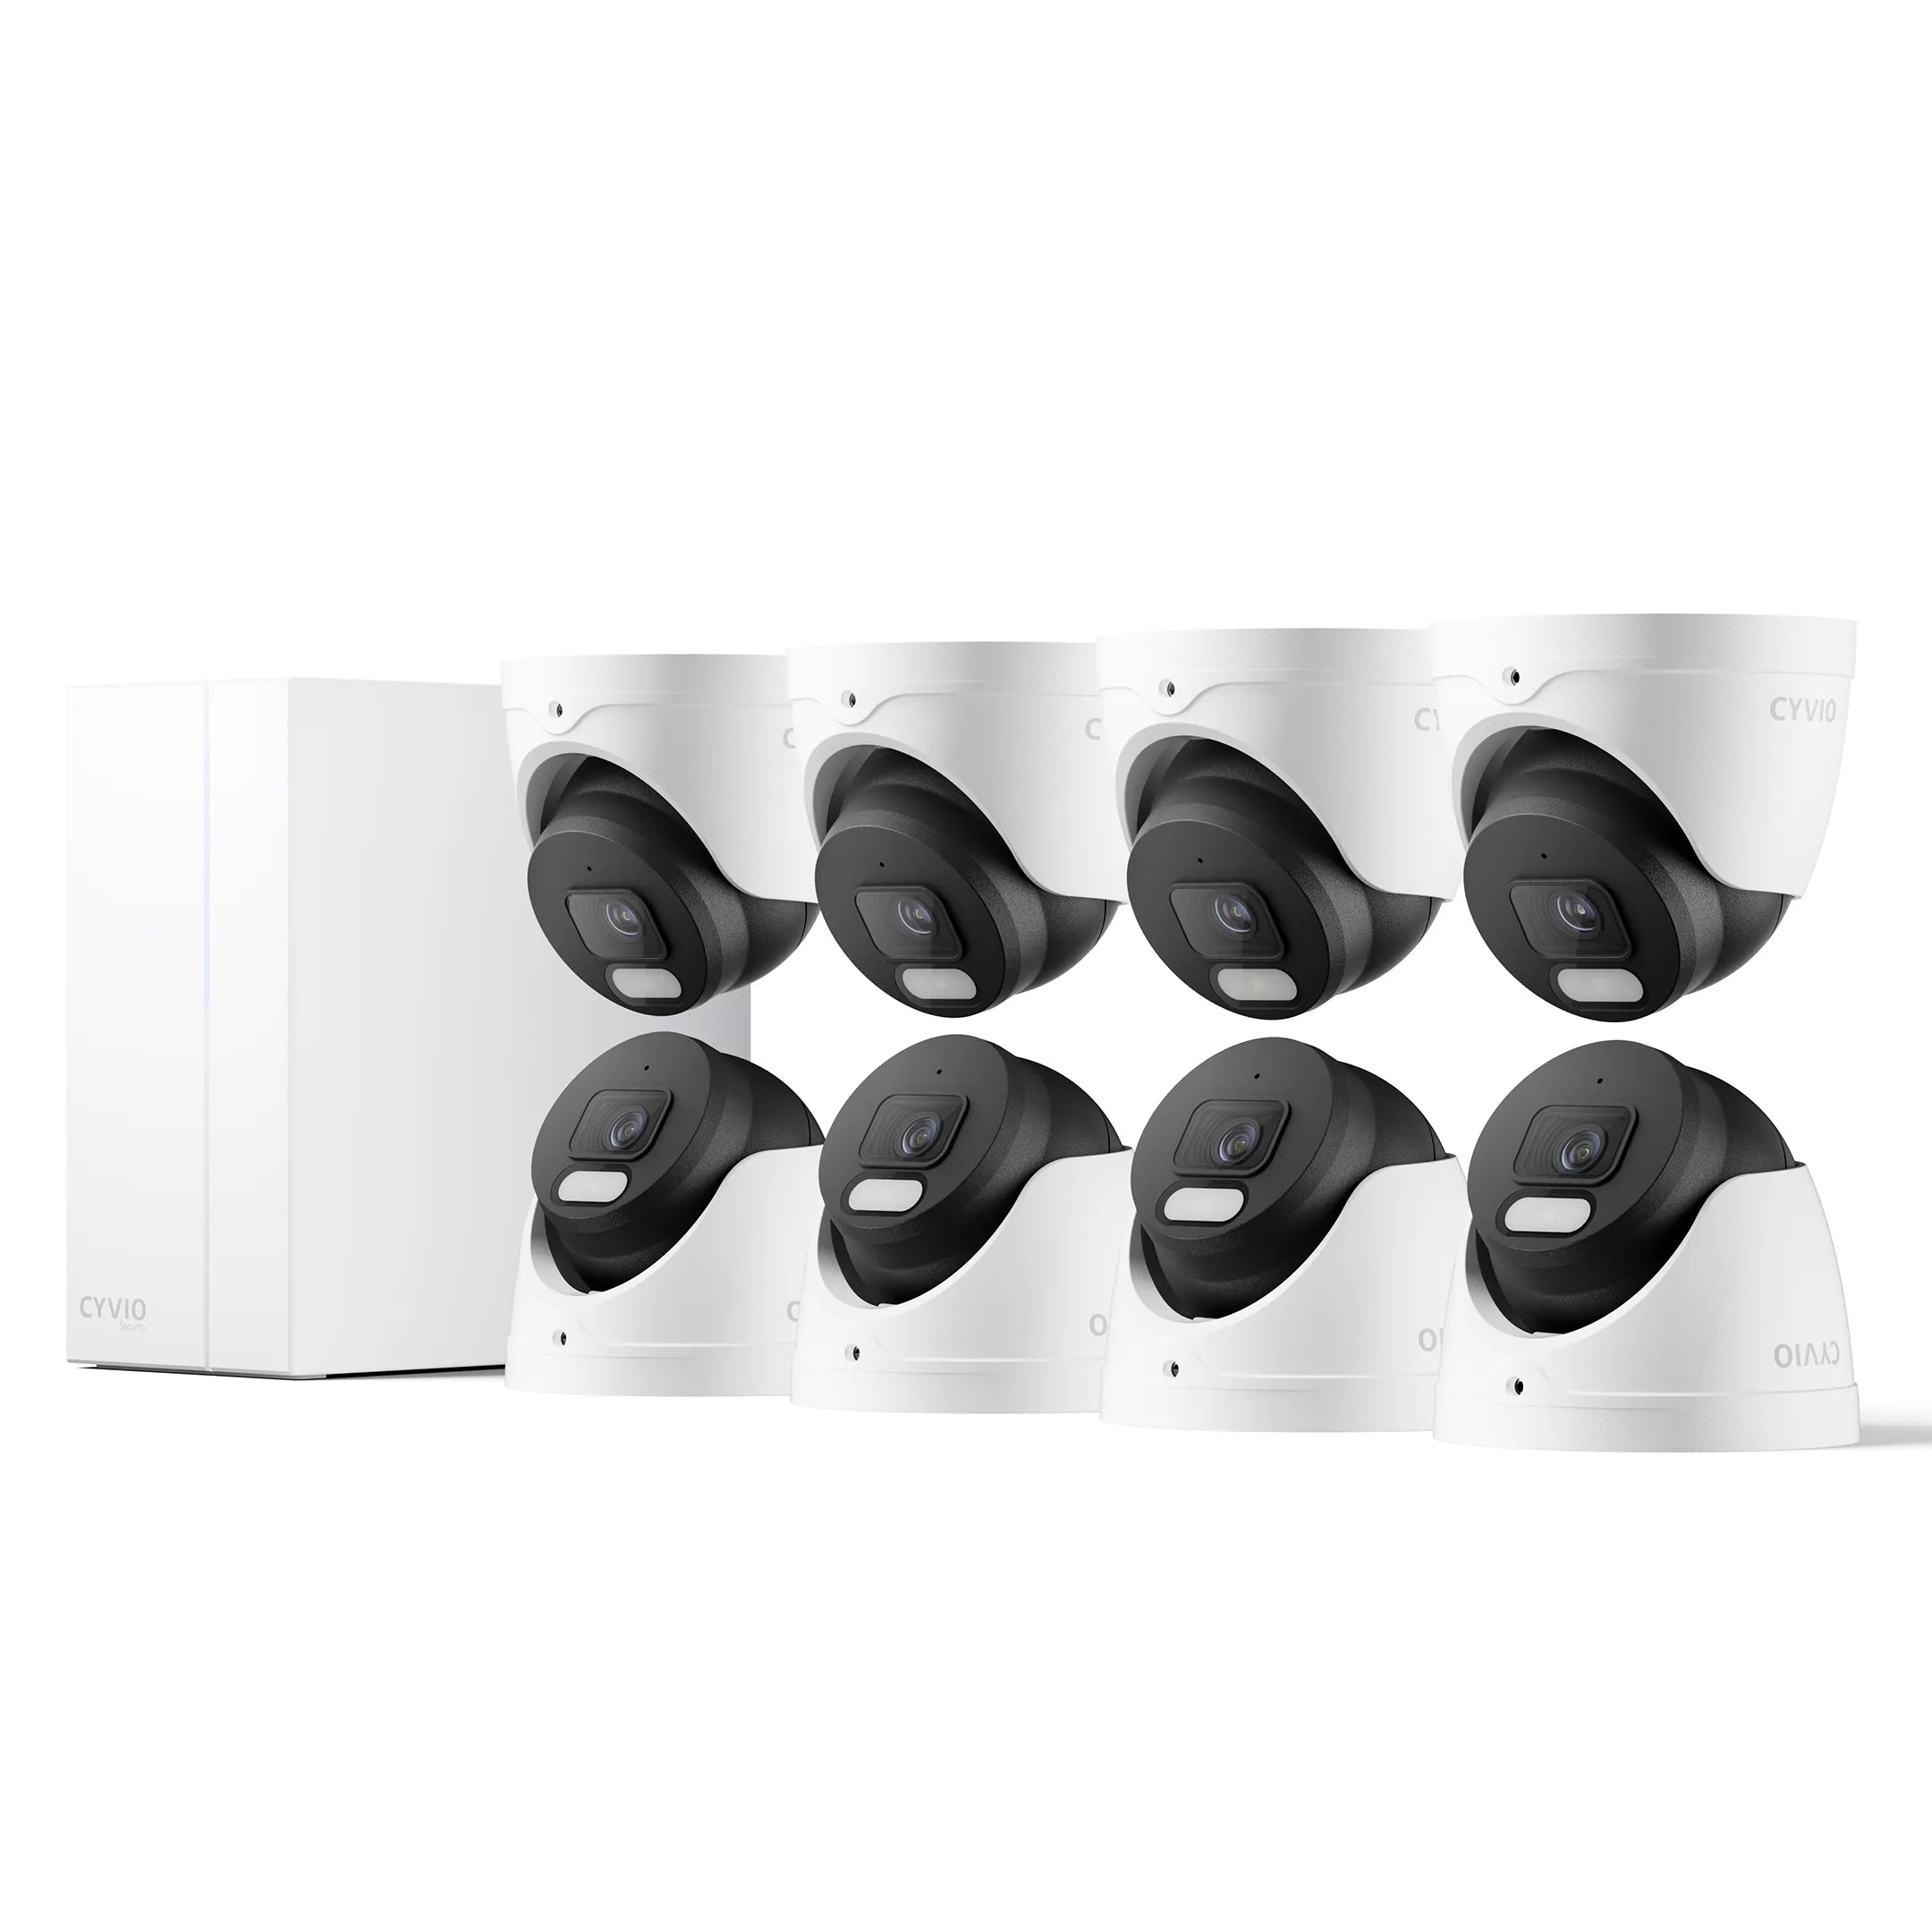
Applicable Models: B220, B221
Here is an installation video for your reference:
Note: Before getting started, please click the link or scan the QR code to download and install the latest version of the CYVIO App. Then, place your CYVIO Battery Camera near your Wi-Fi router.

Please follow the app prompts during the setup process and allow CYVIO to access the camera, location, Bluetooth, and network permissions.
You can follow the steps below to complete the initial setup of your battery-powered WiFi camera using the CYVIO App. Before adding the device in the app, make sure your mobile phone is connected to your home Wi-Fi network.
Step 1: Power on the WiFi camera. Press and hold the power button for 3 seconds or longer to turn on the camera. After powering up, you will hear the startup tone as well as a voice prompt for network configuration.
Note:
- The voice prompt you hear may be: “please confirm your network setting with the net.”
- Once powered on, the status indicator light on the front of the camera will turn red. After about 1 second, the red light will start to flash slowly.
Step 2: Tap the icon in the top-right corner of the app to begin the initial setup. Scan the QR code on the camera. If you are setting up the camera in a dark environment, you can tap the “Flashlight” button to enable the flashlight.


Step 3: The camera will power on and the indicator light will illuminate. In the app, select the options that correspond to the camera’s indicator light status. Make sure your phone and camera are close to the Wi-Fi router, then tap “Next.”


Step 4: Confirm that you are connected to the camera’s hotspot to proceed with the Wi-Fi network configuration.

Note:
- The camera only supports connection to 2.4 GHz Wi-Fi networks.
- The Android version of the CYVIO App will not prompt to add the camera hotspot automatically.
-
After configuring the camera network, iOS devices also need to reconnect to an Internet-accessible Wi-Fi network.

Step 6: Create a login password, then a 120-second countdown will begin while the camera attempts to connect to the Wi-Fi network. You will hear a voice prompt indicating whether the connection is successful or has failed.


Note:
After a successful connection, you can save the device QR code for future use.

Step 7: Name your camera, set the time zone, and format the SD card.


Step 8: After completing the initial setup, your camera will be successfully added. Finally, install your camera according to the installation guide provided.


