


How to Initially Set up CYVIO HaLow WiFi Camera System via CYVIO App?
This article will guide you step by step on how to complete the initial setup of the CYVIO Halow WiFi NVR using the CYVIO App.
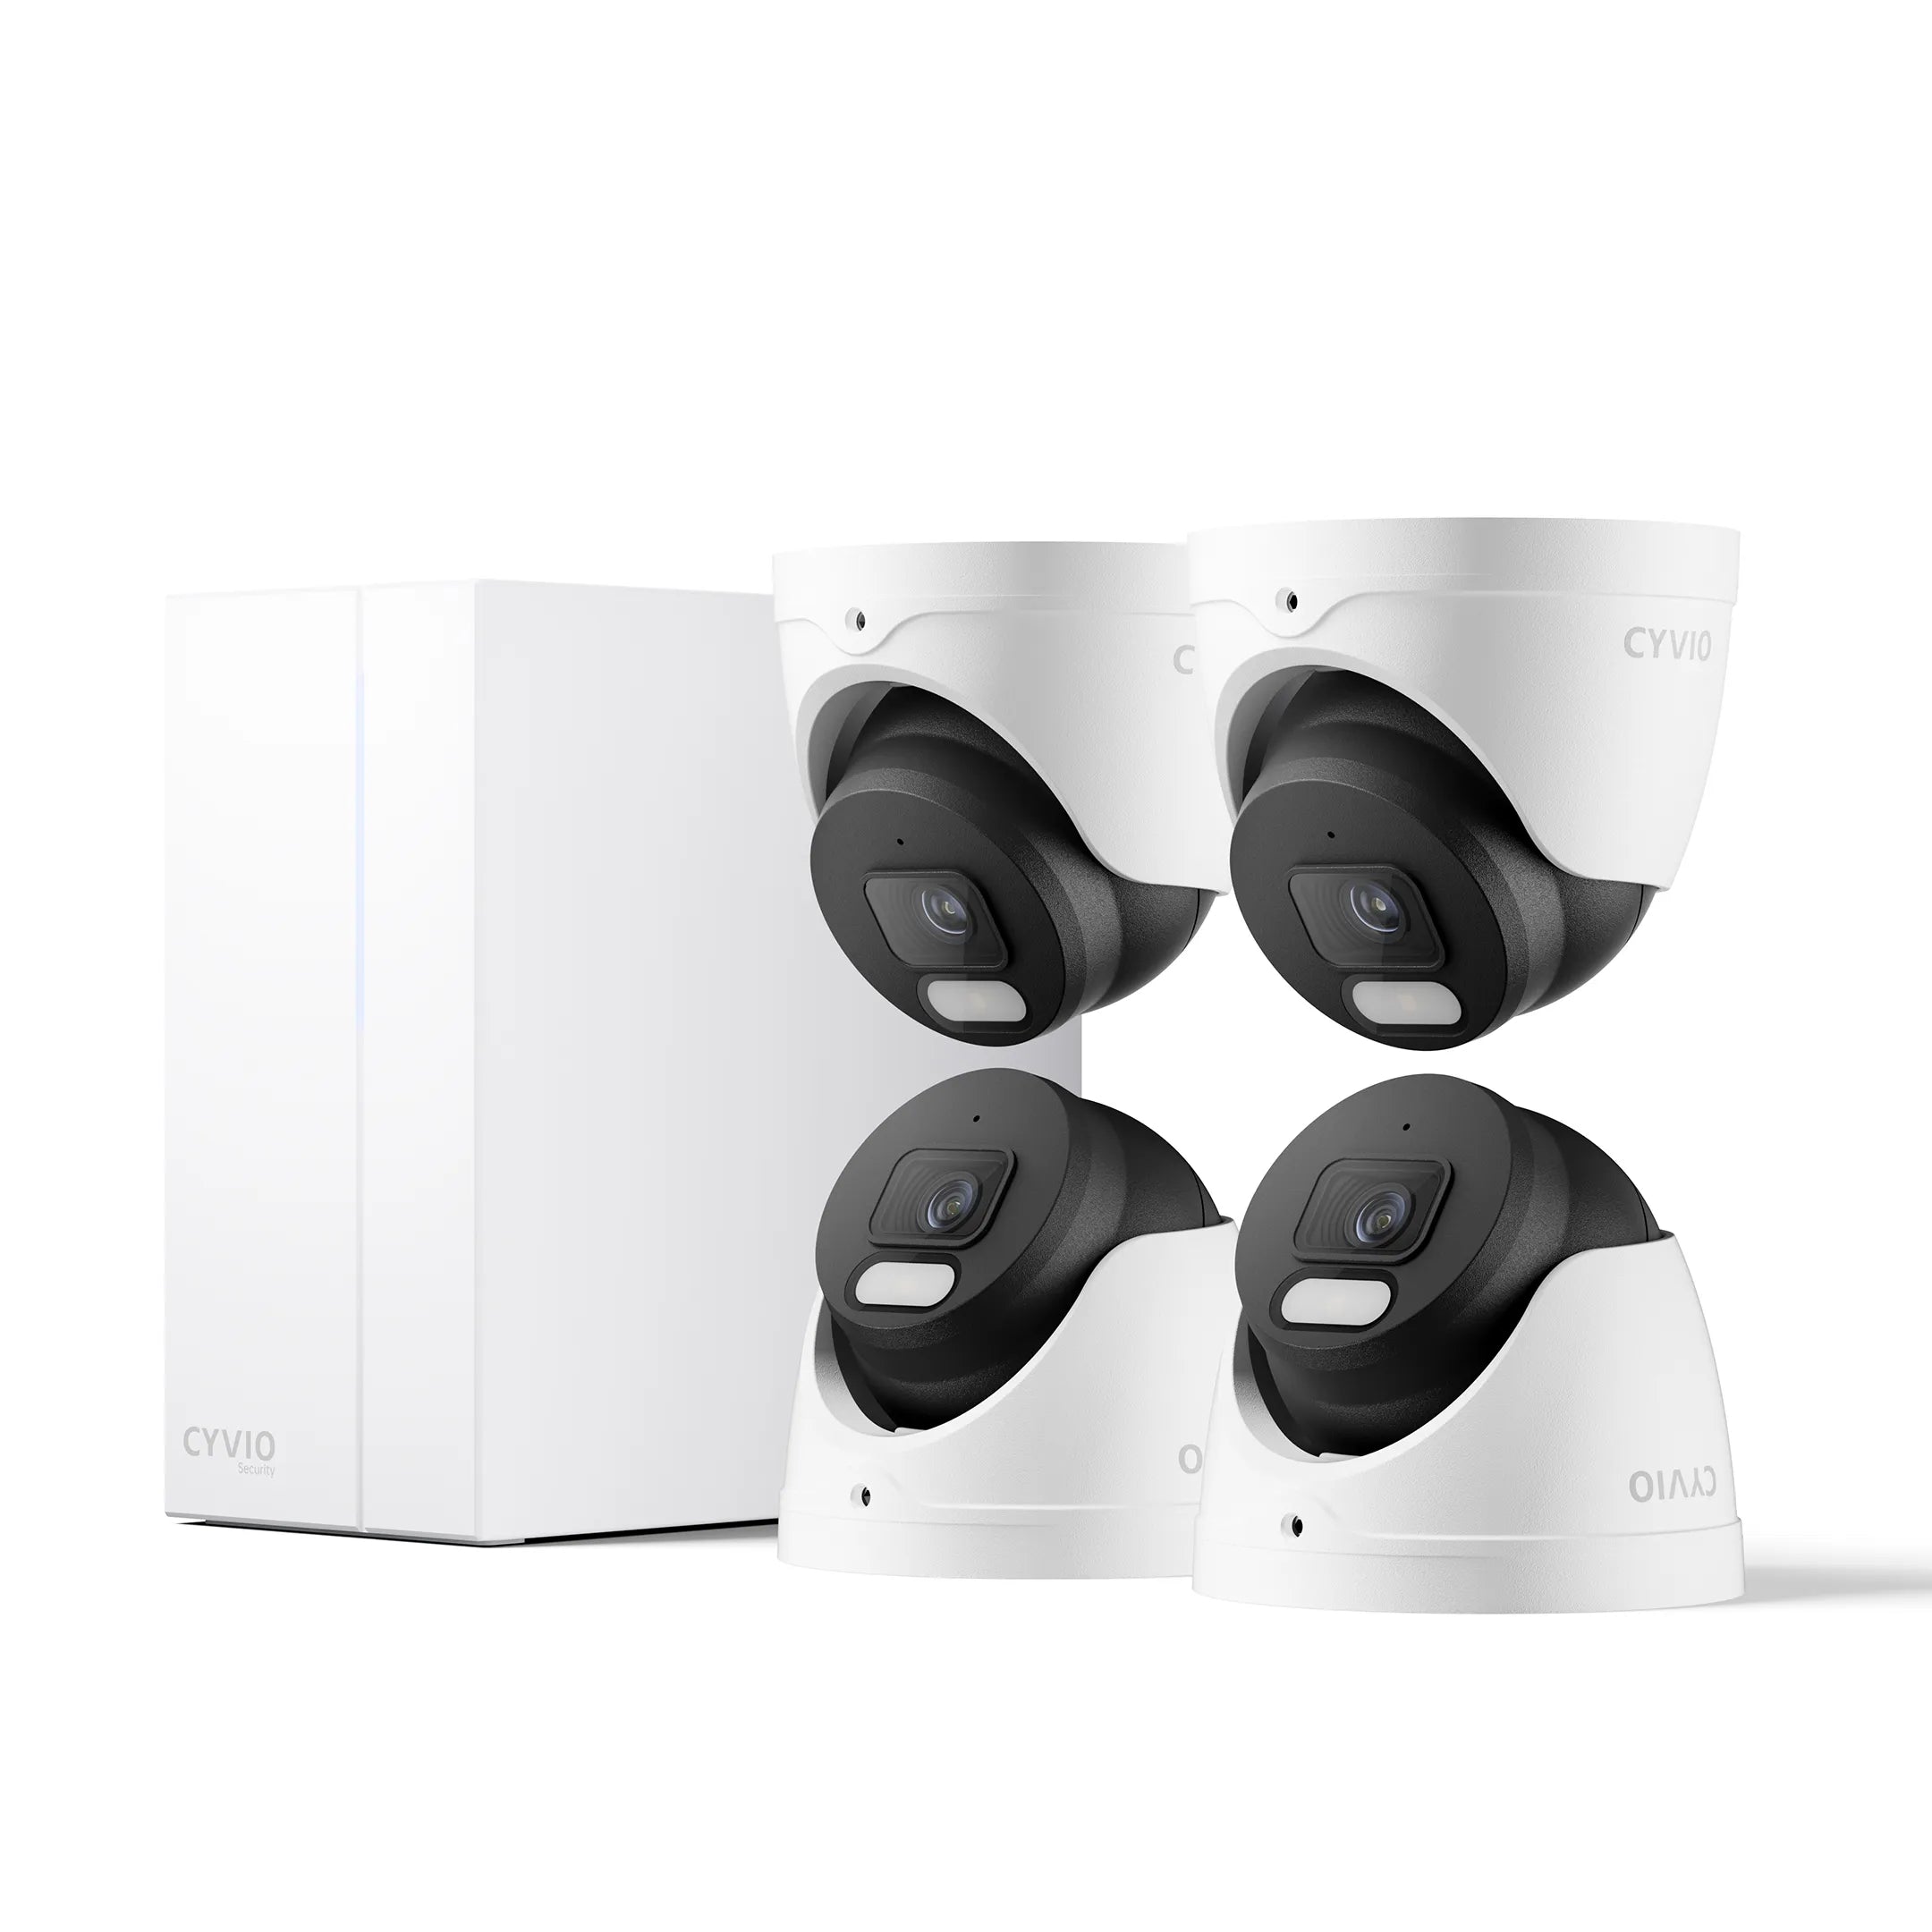
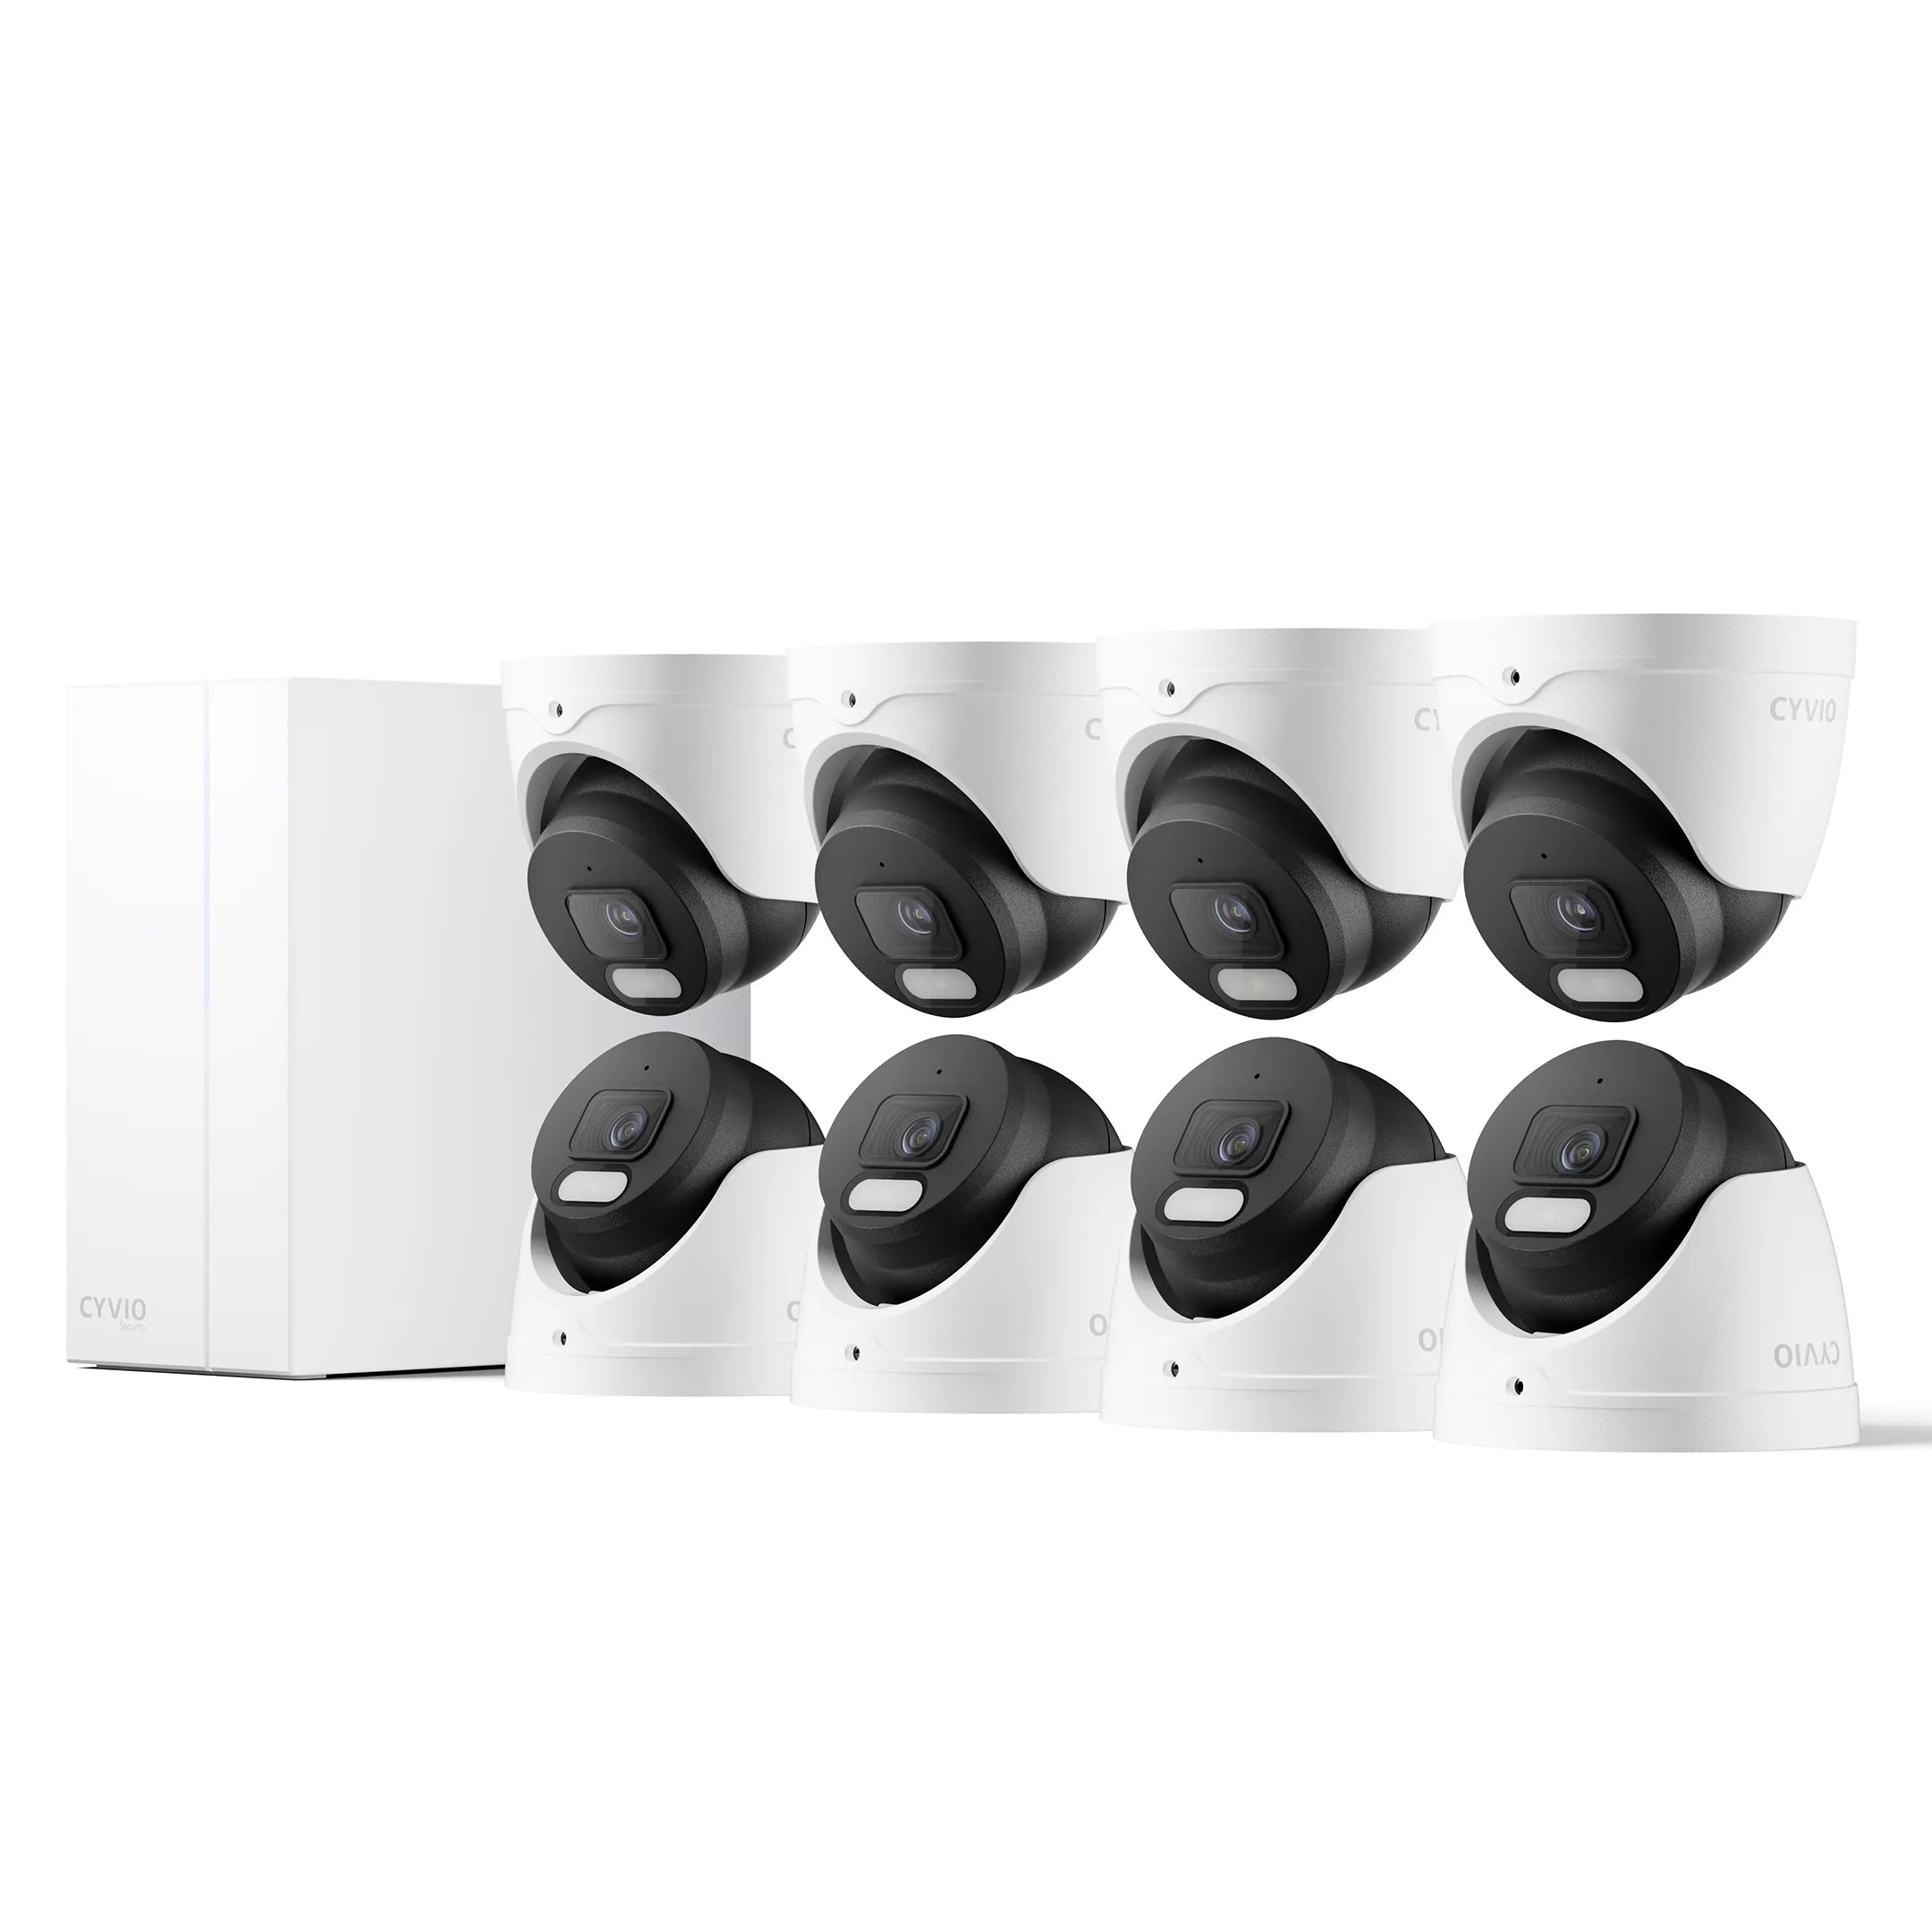
Applicable Model: N1812,N1814
Note: Before getting started, please click the link or scan the QR code to download and install the latest version of the CYVIO App.

During the setup process, please follow the app prompts and allow CYVIO to access the camera, location, Bluetooth, and network permissions.
Step 1: Power on the NVR, and use an Ethernet cable to connect the LAN port on the back of the NVR to your router to access the Internet. Then, open the CYVIO App on your mobile phone.

Note: Please ensure that the NVR and your mobile phone are connected to the same network.
Step 2: Tap the icon in the top-right corner of the app.

Step 3: Scan the QR code on the NVR, then tap “Next.”


Step 4: Set the initial password for the device, then tap “Next.”

Step 5: Check the box to agree to the cloud service agreement, then tap “Next.” Wait while the 60-second countdown completes as the device connects.


Step 6: Name your device, set the time zone, and format the SD card.


Step 7: Configure the NVR’s network connection. You can choose one of the following options:
1. Keep the wired network connection, then tap “Next.”

2. Switch to a wireless network by selecting the second option, then tap “Next.” Choose the Wi-Fi network you want to connect to and enter the password to complete the connection.


Note: After connecting to the wireless network, you can unplug the Ethernet cable and move the NVR to your desired location. Then, reconnect it to the power source.


Congratulations! Your CYVIO Halow WiFi NVR (H3508) is now set up and ready for use.
