









How to Install a Wireless Security Camera for Reliable Home Protection

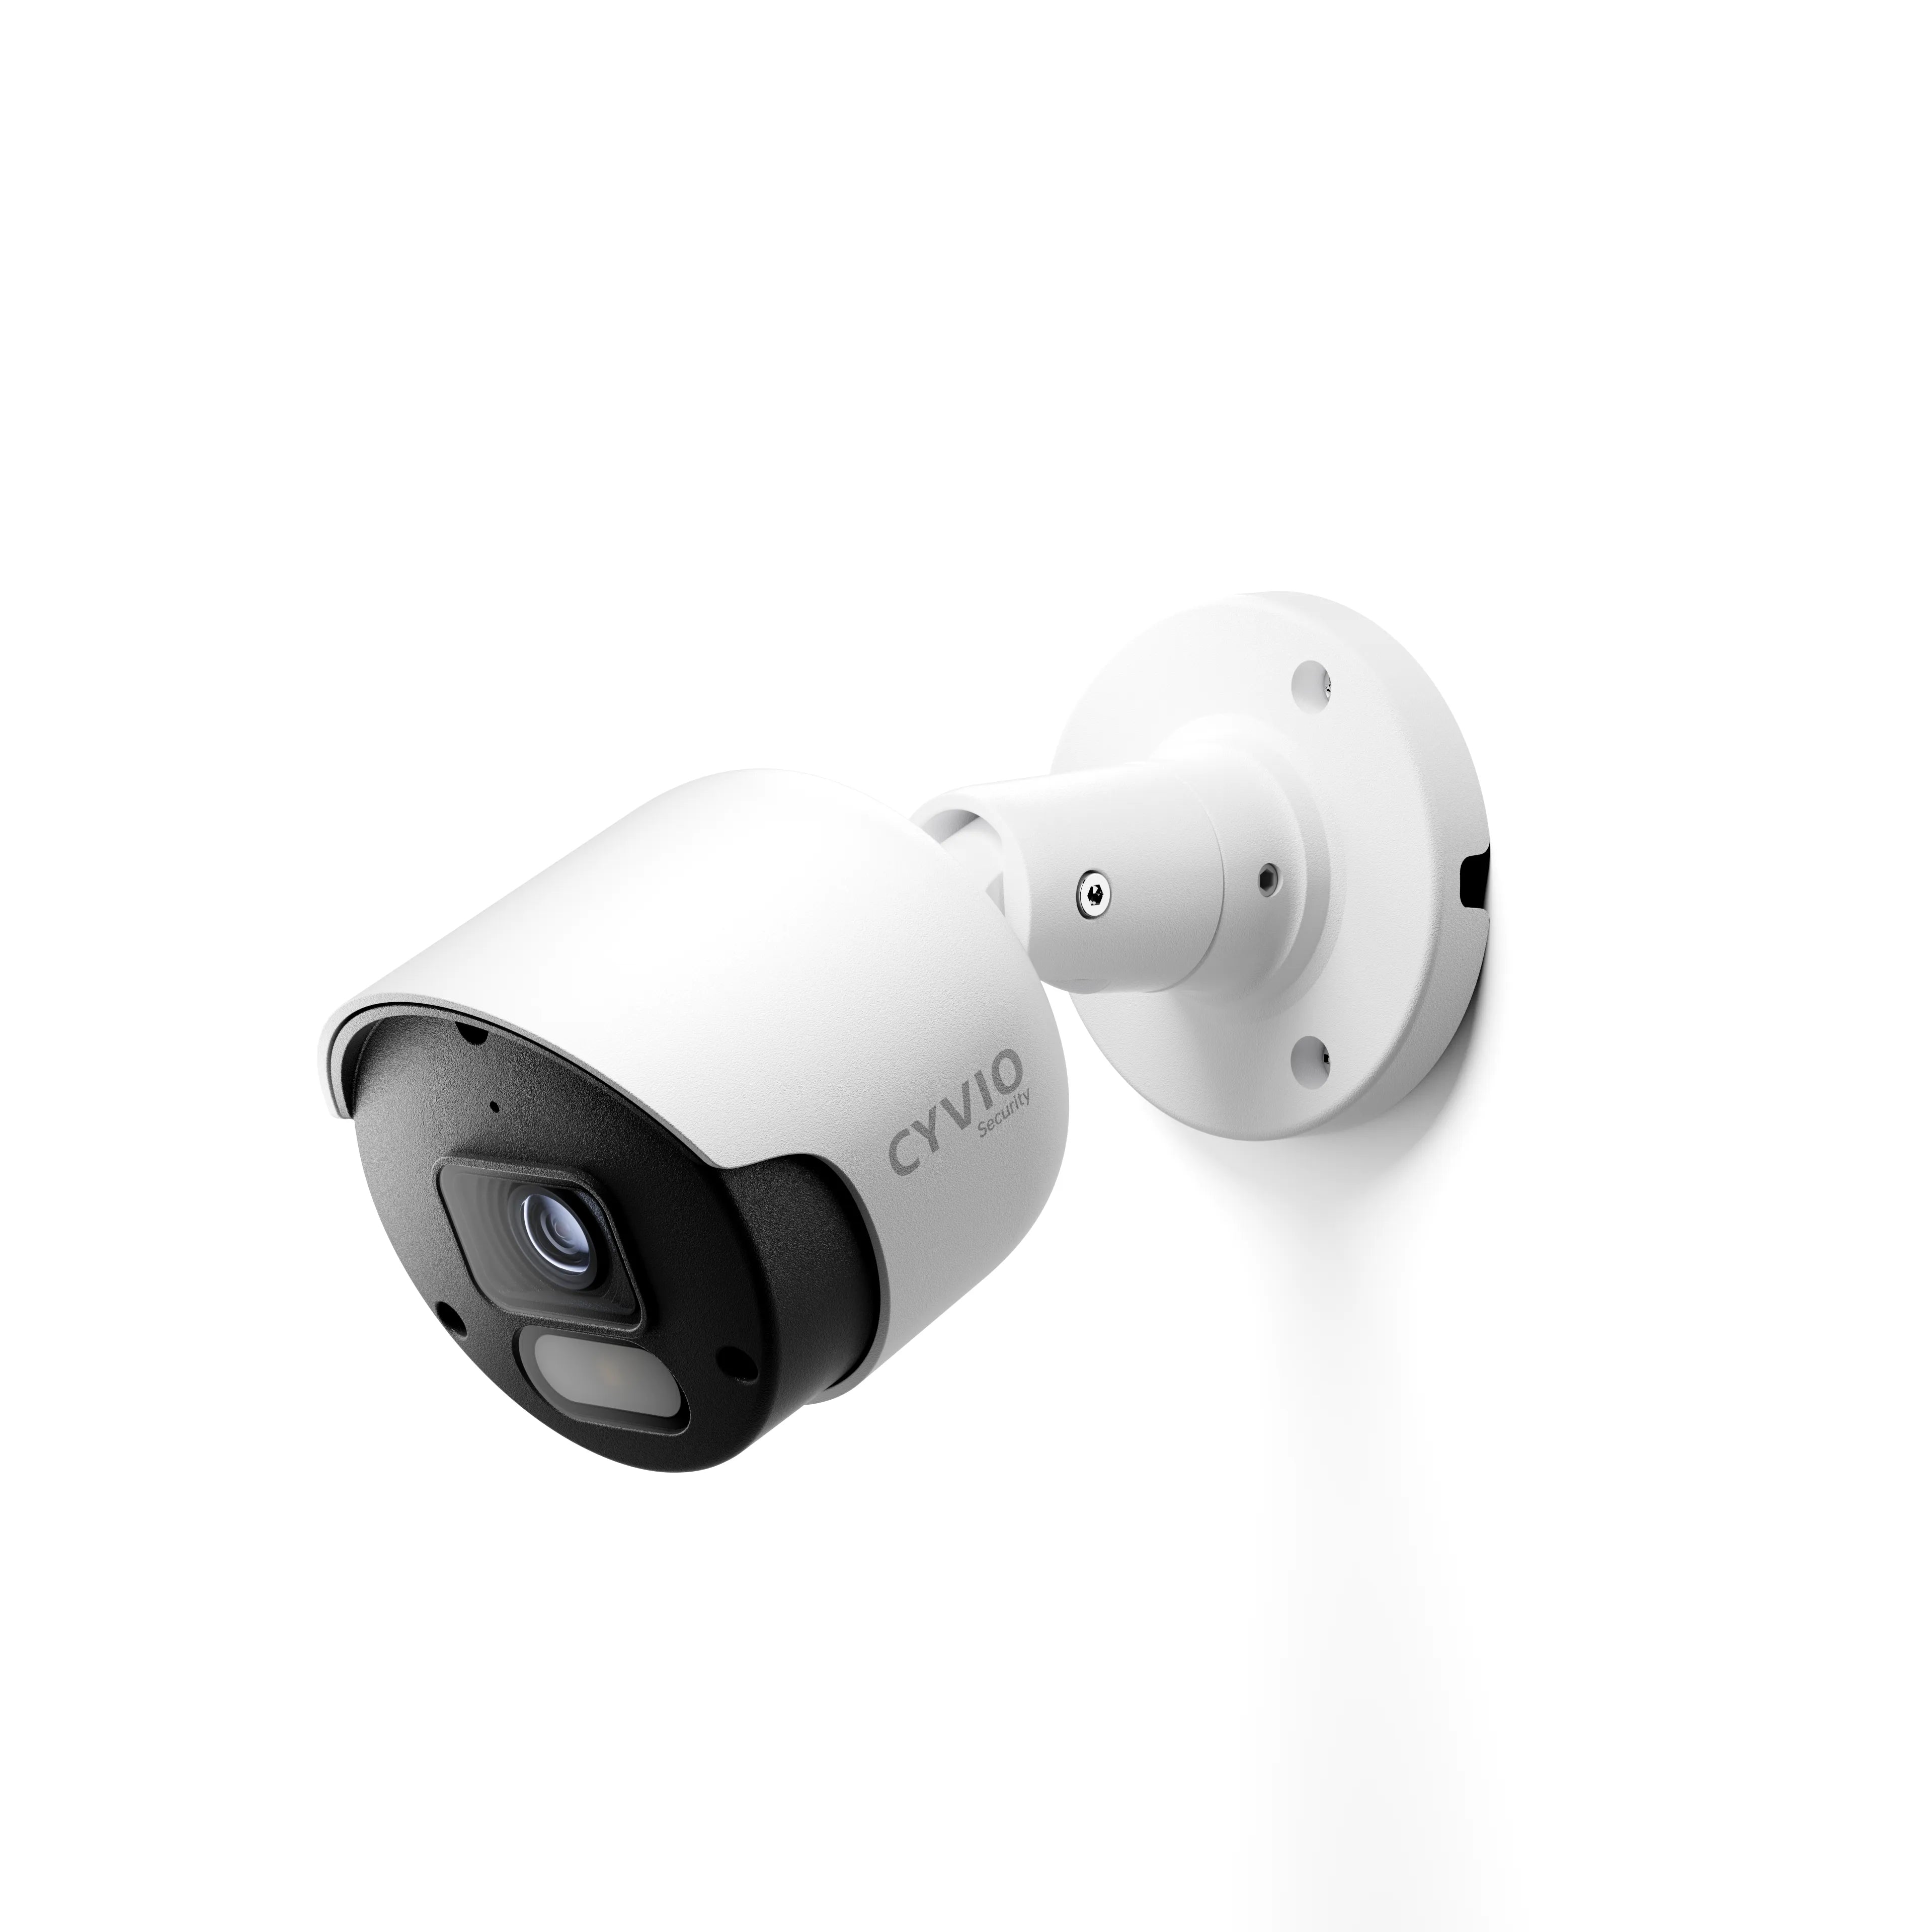
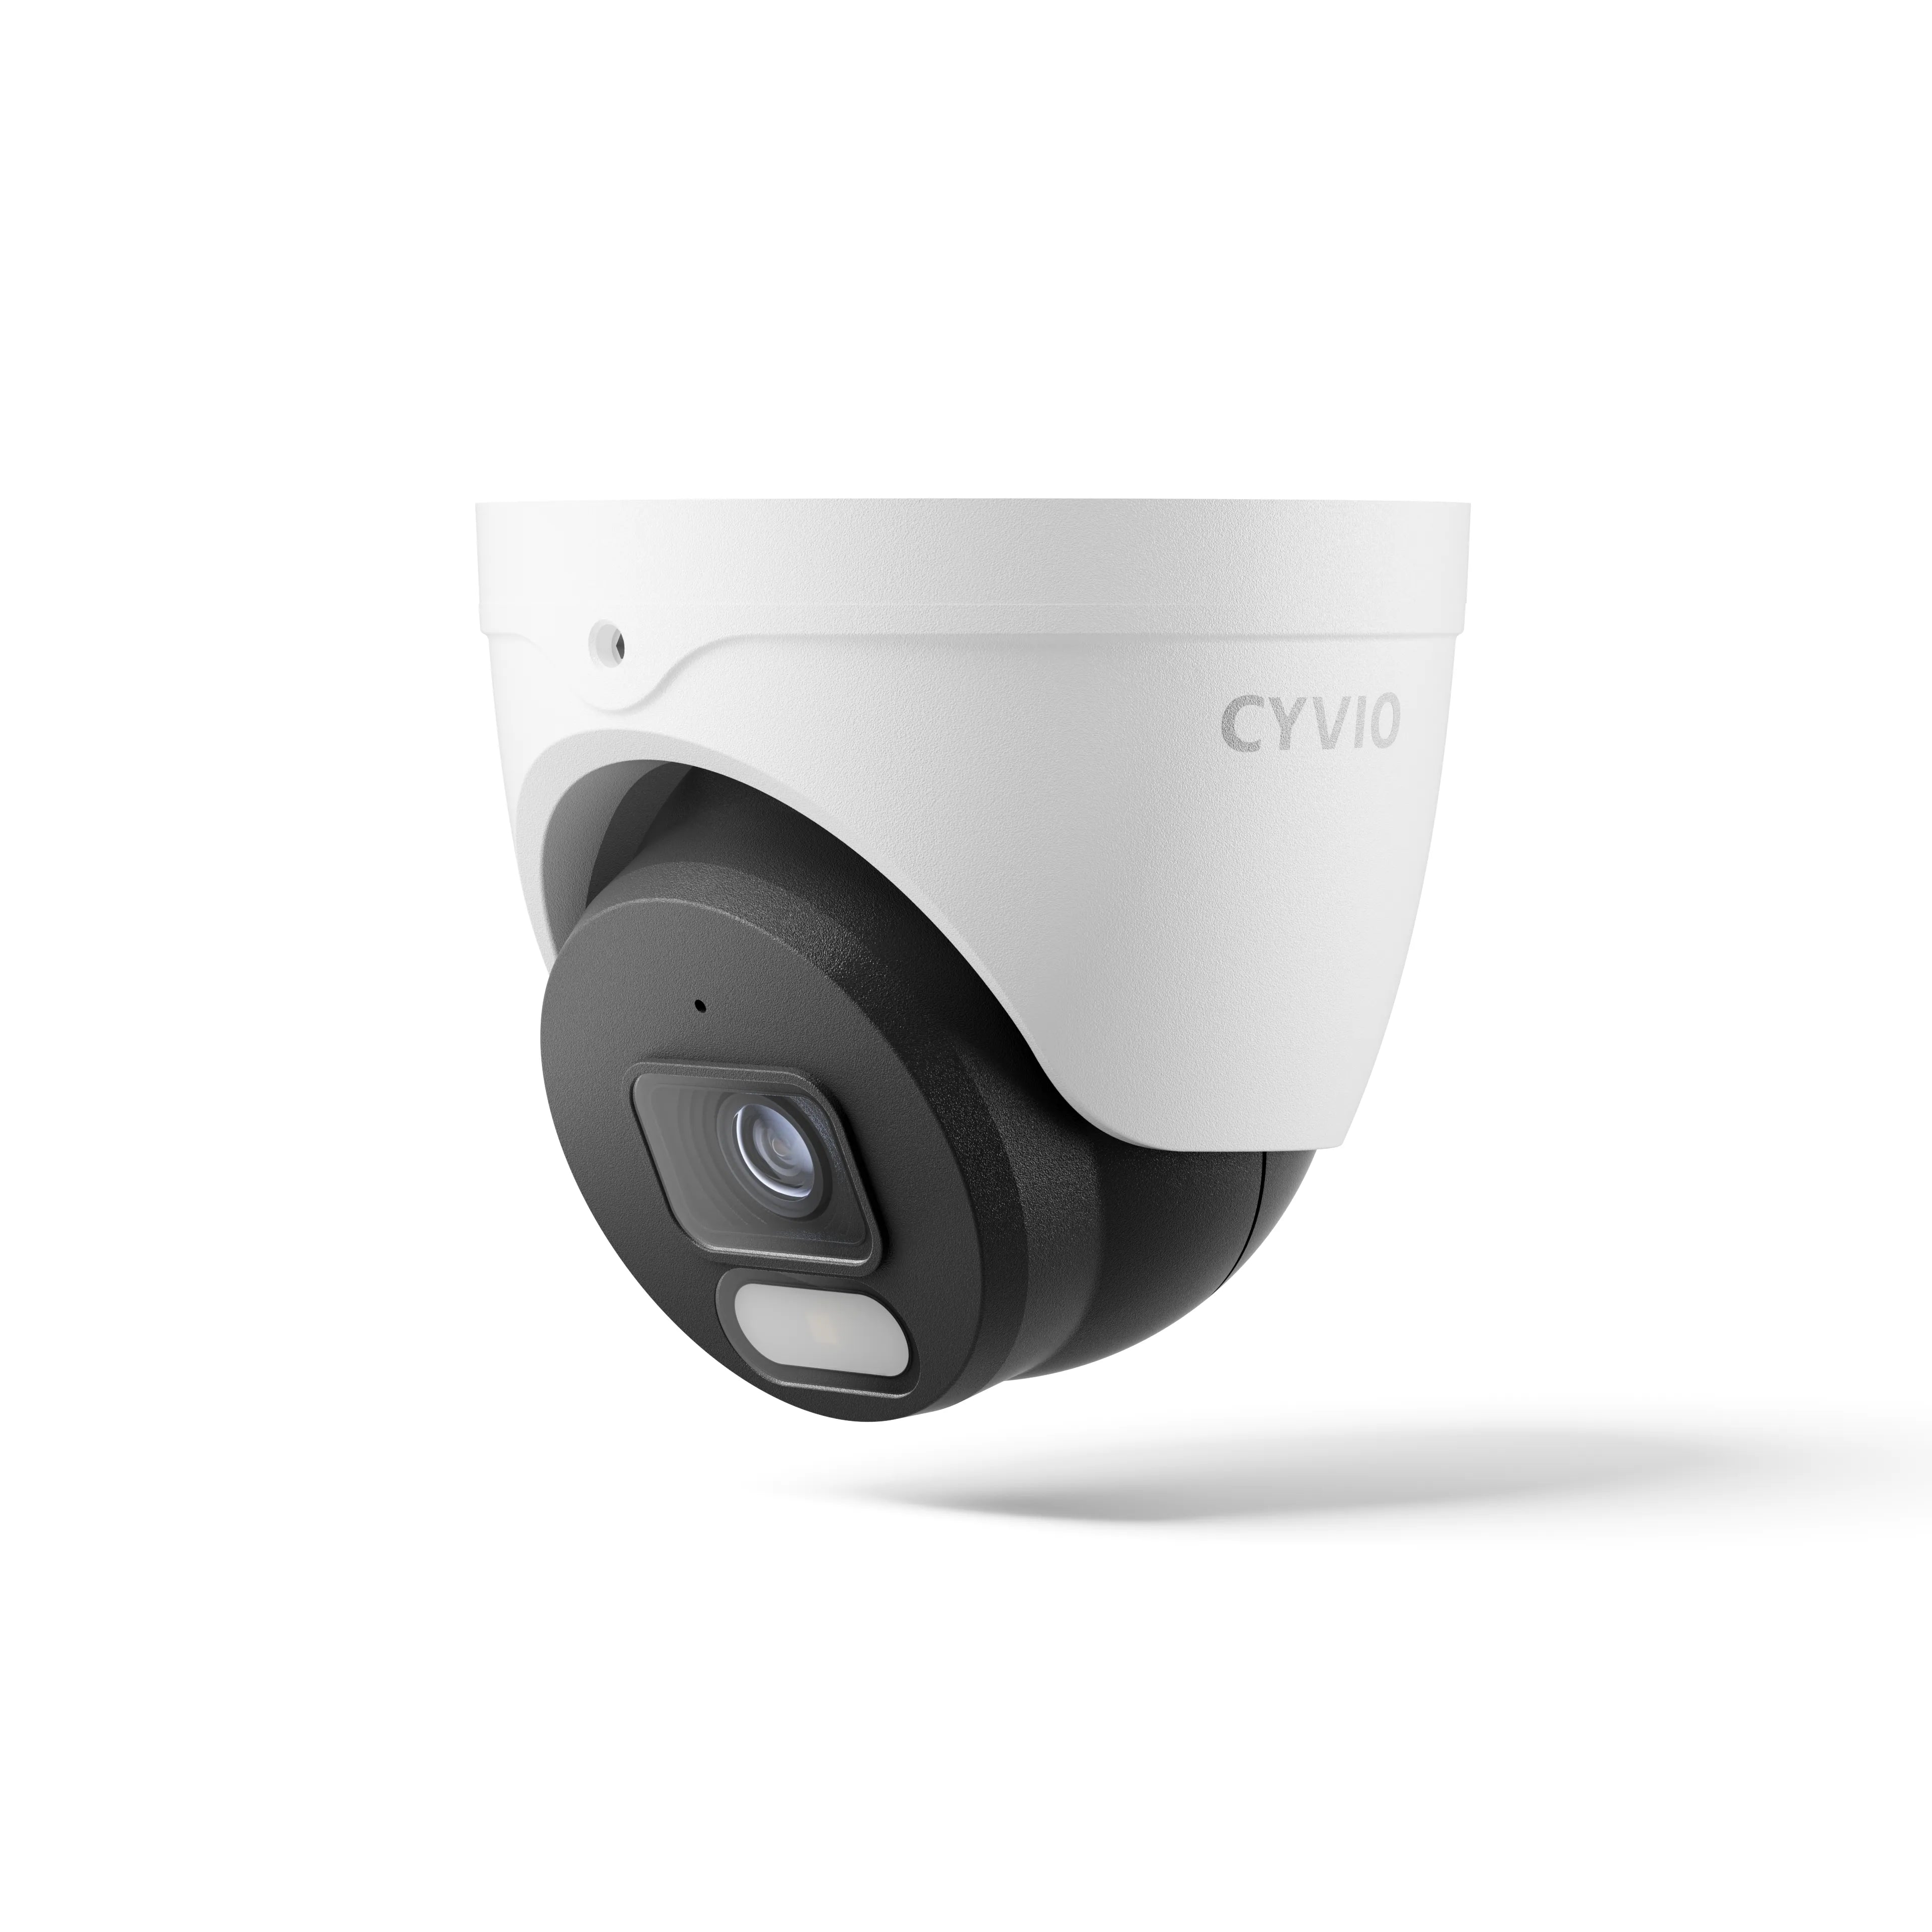
Wireless security cameras have changed the way homeowners protect their properties. Compared with traditional wired surveillance systems, wireless cameras are easier to install, more flexible in placement, and especially suitable for locations where running cables is difficult, such as front doors, garages, gardens, rental properties, and outdoor areas.
However, a wireless security camera is not simply a device that can be mounted anywhere and immediately deliver perfect protection. A successful wireless security camera installation requires careful planning. The camera location, WiFi connection, power source, viewing angle, and final settings all directly affect image quality, detection accuracy, and long-term reliability.
Many installation problems are not caused by the camera itself, but by incorrect placement or incomplete setup. A camera installed too high may capture a wide view but miss important details. A camera placed too far from the router may frequently disconnect. A solar-powered camera installed in a shaded location may struggle to maintain power.
The good news is that most homeowners can complete a wireless camera installation themselves by following the right steps. This guide explains how to install a wireless security camera properly, from choosing the installation location to adjusting settings after setup.

Plan Your Wireless Security Camera Installation Before Mounting
Before drilling holes or fixing the camera to a wall, take time to understand what area you actually need to monitor.
The purpose of a security camera is not simply to capture as much space as possible. The goal is to monitor important areas clearly and reliably.
For example, a front door camera should focus on the entrance path where visitors approach. Installing the camera at a slight angle usually provides better footage than pointing it directly downward, because a downward angle may only capture the top of a person’s head.
For driveways and yards, the camera should cover the movement path of vehicles and people. A wider view is useful, but important details should not become too small. For indoor areas such as living rooms, offices, or baby rooms, the camera should provide enough coverage while respecting private spaces.
Before installation, prepare the necessary accessories, including the camera, mounting bracket, screws, charging cable or solar panel, mobile app, measuring tools, and installation tools. For outdoor installation, waterproof accessories may also be needed.
Testing the camera before mounting it can save time. Confirm that the device can power on, connect to the app, and connect to WiFi before permanently installing it.
Choose the Right Location for Better Security Camera Coverage
Camera placement is one of the most important parts of wireless security camera installation.
A good location should provide three things: a clear view, stable connection, and reliable power.
For most outdoor security cameras, an installation height between 2.5 and 3.5 meters is suitable. If the camera is installed too low, it may be easier to block, damage, or tamper with. If it is installed too high, important details may become difficult to capture.
The camera angle also matters. The lens should usually point slightly downward so the image includes both the target area and useful reference points such as entrances, walkways, or driveways.
Avoid placing the camera directly toward strong light sources. Direct sunlight, streetlights, and vehicle headlights can create overexposure, reflections, or unclear footage, especially at night.
Another important factor is avoiding unnecessary blind spots. Before final installation, open the live view in the camera app and check whether important areas are fully covered.

Check WiFi Signal and Power Supply Before Installation
Although wireless security cameras reduce cable requirements, they still depend on stable network connectivity and sufficient power.
Test WiFi Connection Before Installing the Camera
One of the most common mistakes during a wireless camera installation is choosing a location based only on the viewing angle while ignoring WiFi signal strength.
Before fixing the camera permanently, place it temporarily in the desired location and check the live video through the mobile app.
Pay attention to:Whether the video loads smoothly.Whether there is noticeable delay.Whether the camera disconnects frequently.
Walls, concrete structures, metal doors, and large appliances can weaken wireless signals. If the connection is unstable, try moving the router, adjusting the camera position, or adding a suitable network extender.
For larger properties such as farms, warehouses, or large yards, wireless coverage should be tested before installation. A long-range wireless security camera solution may be more suitable than installing a camera in an area with weak signal strength.
Consider the Camera Power Source
Different wireless cameras use different power solutions.
Indoor WiFi cameras are usually connected to a power outlet, so installation should consider whether the power source is easily accessible.
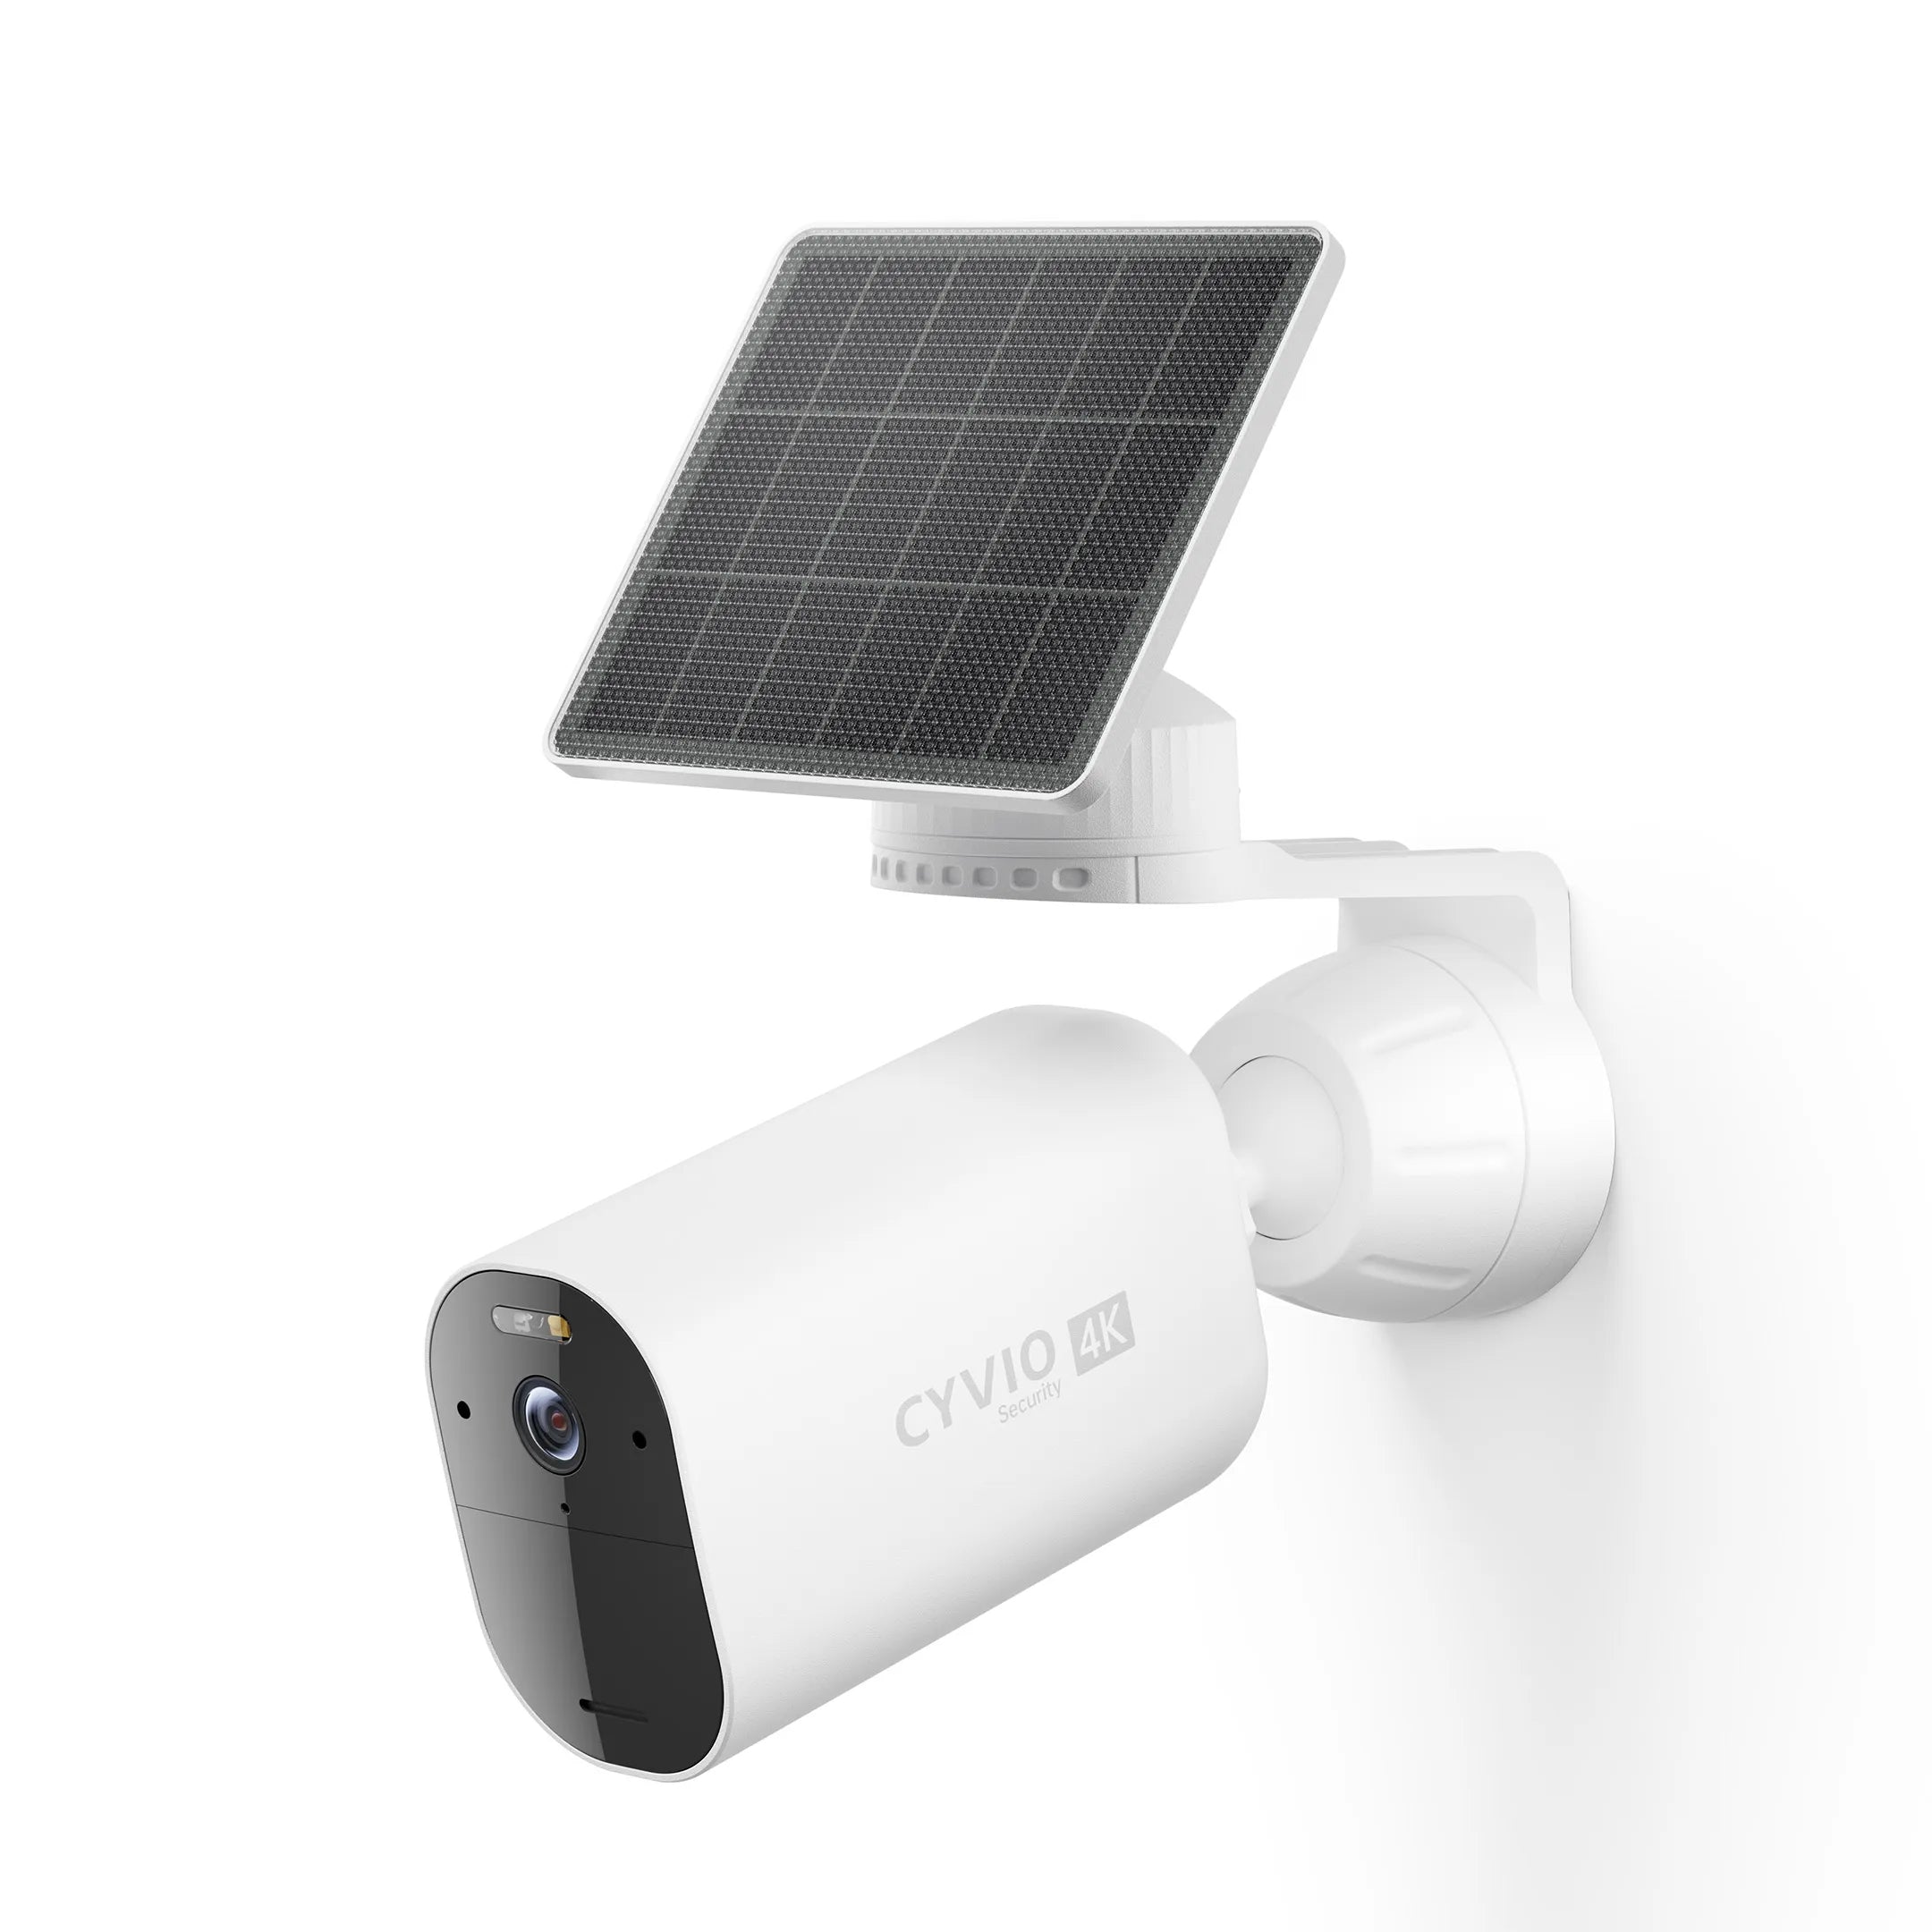
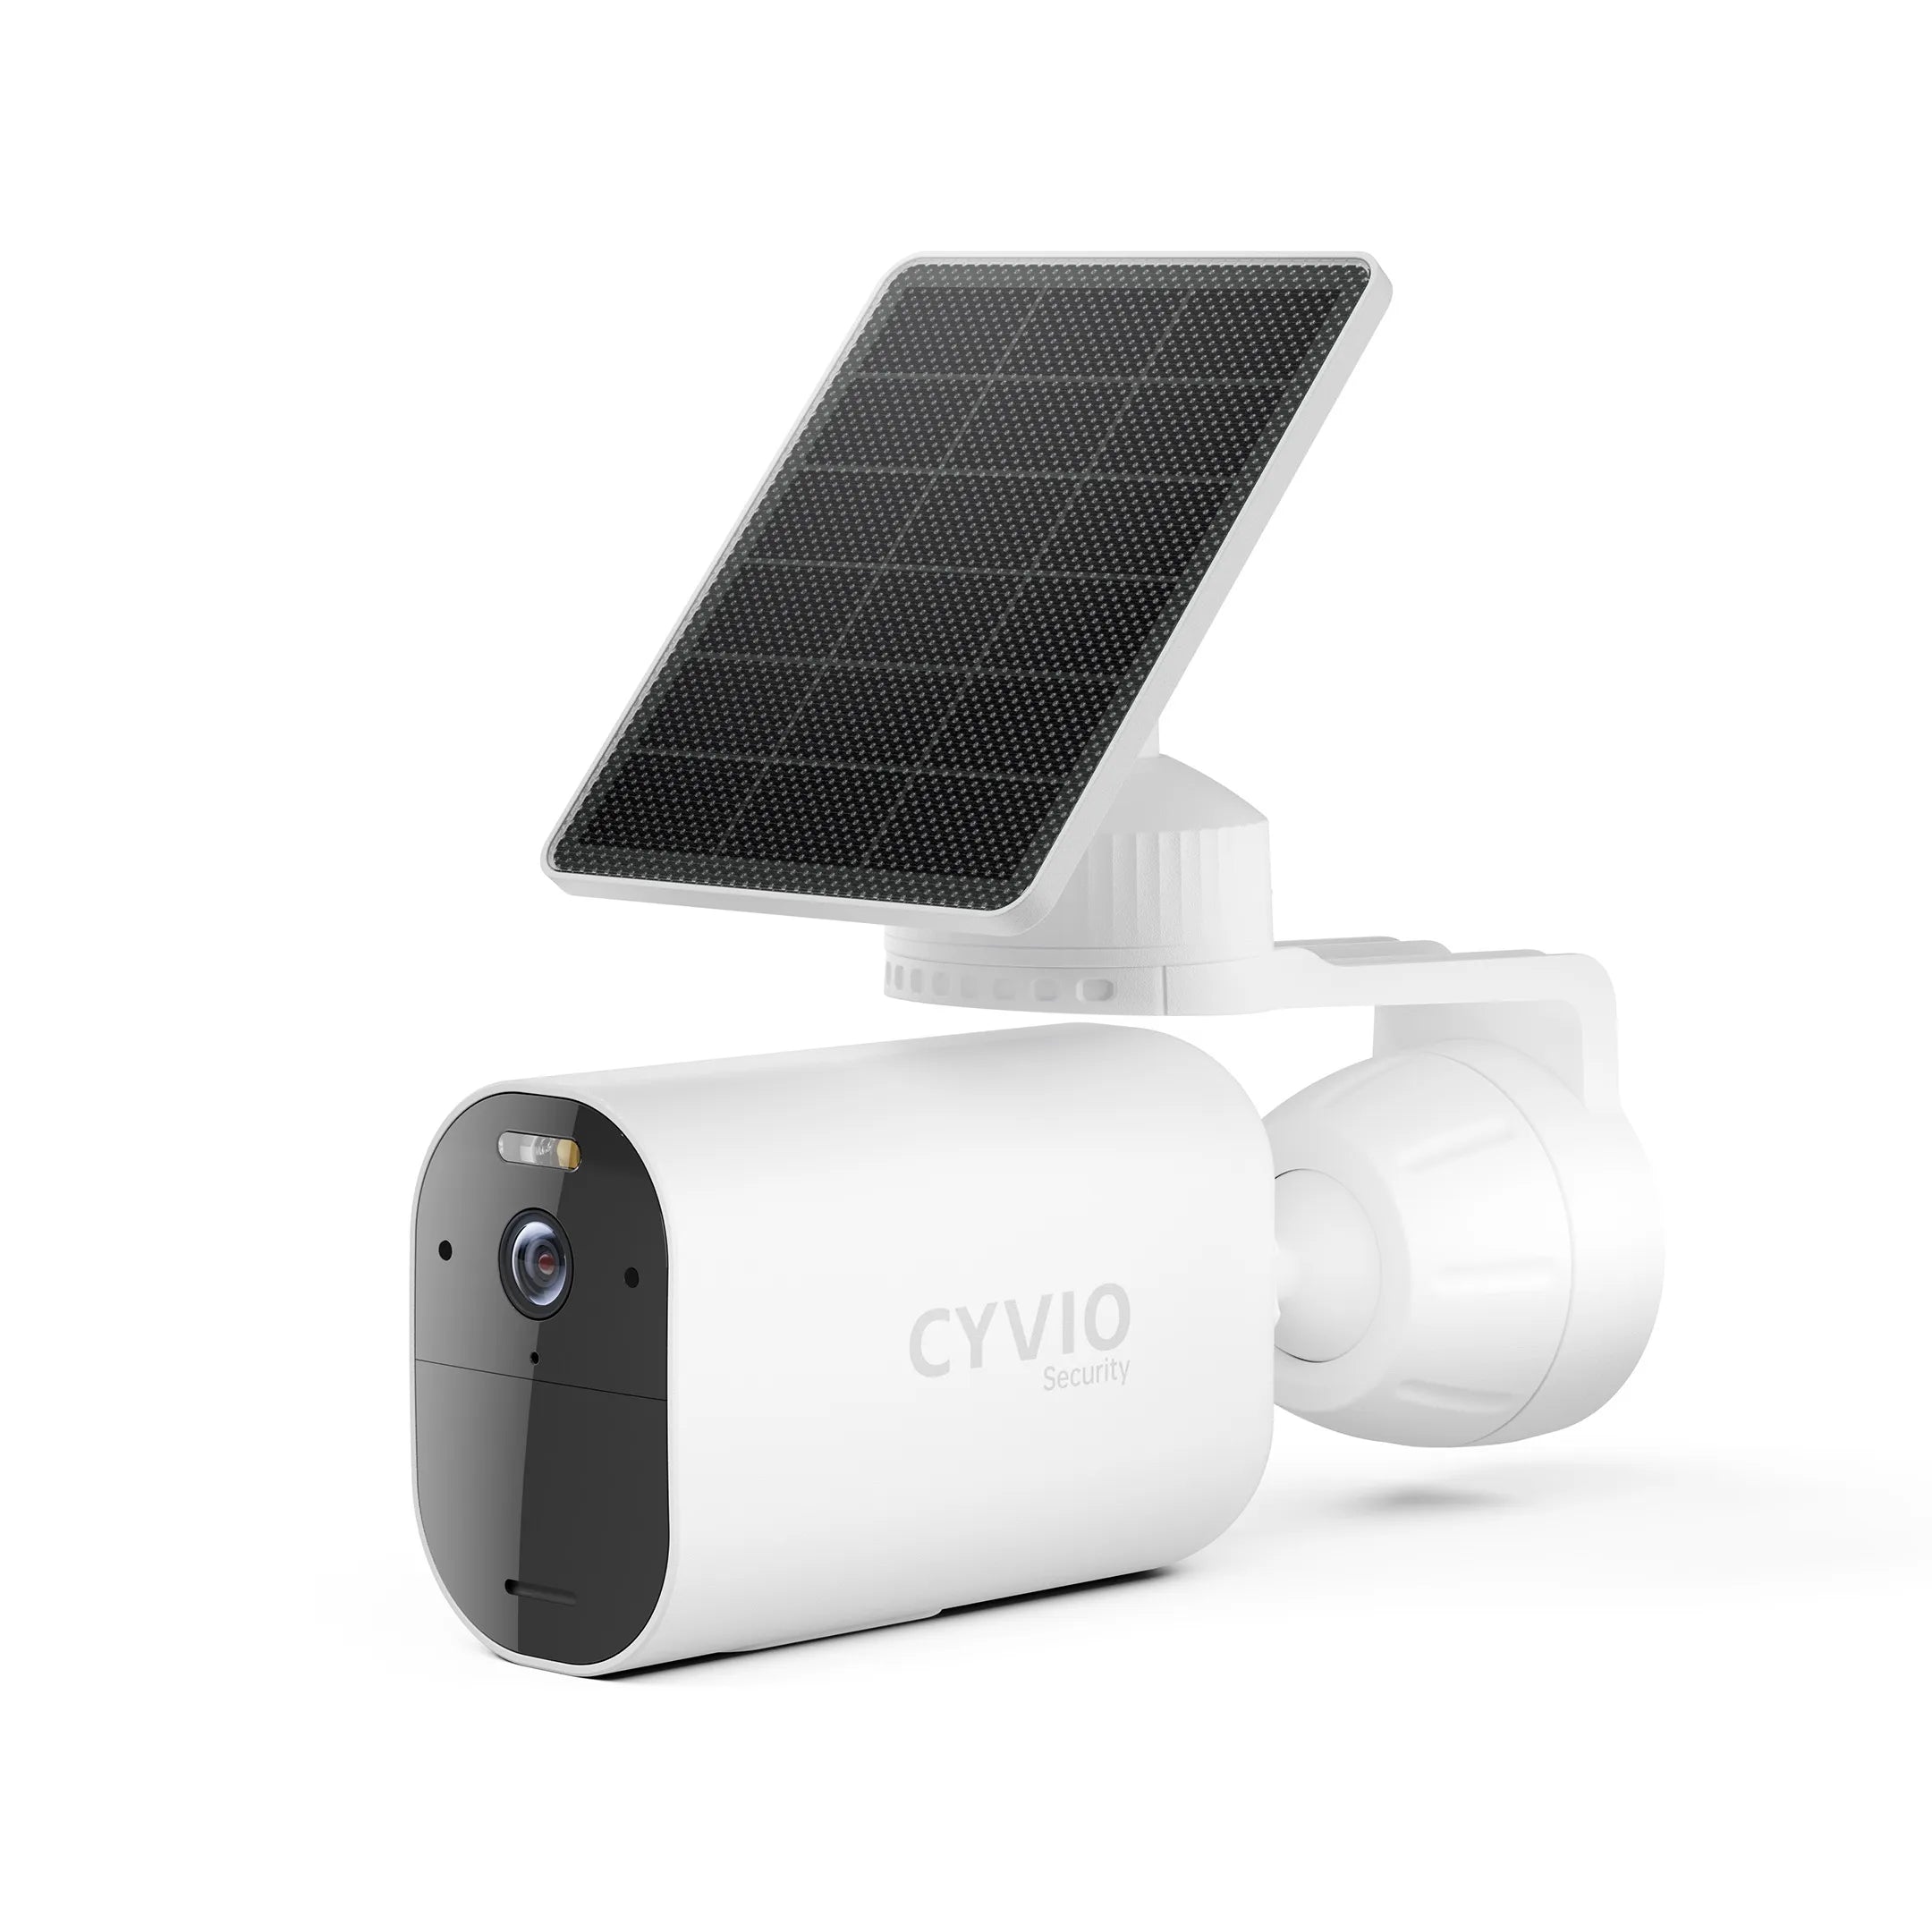
Outdoor wireless cameras may use rechargeable batteries or solar charging systems. When installing a solar-powered security camera, choose a location with sufficient sunlight exposure. Avoid areas blocked by trees, roof edges, or tall buildings.
A common misunderstanding is that “wireless” means no power consideration is needed. In reality, wireless only removes the need for network cables. Stable power remains essential for continuous monitoring.
How to Install a Wireless Security Camera Step by Step
After selecting the location and confirming the network connection, you can begin the installation process.
Connect the Camera and Complete Initial Setup
Start by charging the camera battery or connecting the power supply.
Download the camera application and follow the setup instructions to add the device.
During the initial WiFi security camera setup, it is recommended to:Connect to the correct WiFi network.Use a 2.4GHz network when required by the device.Choose the best available frequency if the camera supports dual-band WiFi.Change the default password after setup.Enable available security protection features.
Completing the setup before mounting prevents repeated adjustments after installation.
Install the Mounting Bracket
Once the camera connection is confirmed, install the mounting bracket.
Place the camera at the planned location and check the live view one more time. Make sure important areas are visible and there are no unexpected blind spots.After confirming the angle:Mark the drilling points.Choose suitable screws according to the wall material.Secure the bracket firmly.Install the camera onto the bracket.
Different surfaces require different installation methods. Brick walls, concrete walls, and wooden surfaces may need different screws or anchors.
For outdoor cameras, avoid depending only on adhesive mounting methods. Long-term exposure to moisture, heat, and weather changes may reduce stability.

Protect Outdoor Connections From Water Damage
Wireless cameras may still use charging cables or solar panel cables outdoors.
Proper cable management helps prevent water from entering connectors.
Outdoor installation should keep cable connections facing downward whenever possible. Creating a small drip loop allows rainwater to flow away from the connection point.
Make sure waterproof covers and sealing rings are installed correctly. At the same time, do not block microphone openings, speaker areas, or ventilation sections.
A properly protected installation can improve the camera’s reliability in changing weather conditions.

Adjust Camera Settings After Installation
Mounting the camera is only part of the installation process. Proper configuration helps the camera perform better.
After installation, test the camera during both daytime and nighttime.
Check important functions such as live viewing, motion detection, mobile notifications, night vision, two-way audio, and video playback.
If you receive too many unnecessary alerts caused by moving trees, flags, or passing vehicles, adjust the detection area or sensitivity settings.
If nighttime footage appears too bright or blurry, check whether infrared light is reflecting from nearby walls, glass, or light-colored surfaces.
The best installation is one that matches your actual environment.
Storage and Privacy Settings You Should Check
After installing a wireless security camera, storage settings should also be configured properly.
Many wireless cameras support local storage through microSD cards or cloud storage options.
For users who mainly review important events occasionally, local storage can be a practical choice. When using a memory card, select one designed for continuous recording and format it according to the device requirements.
After setup, check:Recording schedule.Time zone settings.Loop recording options.Motion detection settings.Correct settings make it easier to find important footage later.
Privacy is also an important part of security camera installation. Avoid pointing cameras toward areas outside your property whenever possible. Use privacy masking features if available and regularly check shared accounts or connected devices.
A good security system protects your property while respecting personal privacy.
Choosing the Right Wireless Security Camera for Different Locations
Different installation environments require different camera features.

For indoor spaces such as living rooms or baby rooms, a flexible WiFi camera with adjustable viewing angles is usually the best choice. The CYVIO C2 Indoor WiFi Camera is designed for this type of environment, offering 5MP image quality, 360° pan and tilt coverage, smart tracking, two-way audio, and local microSD storage.

For entrances, garages, and outdoor areas where running cables is inconvenient, a battery-powered or solar-powered wireless camera provides more installation flexibility. The CYVIO B221 Wireless Solar Battery Camera features a 11600mAh battery, solar charging support, color night vision, and local storage. During installation, ensuring both sunlight exposure and stable wireless connectivity is essential.
For large properties that require extended wireless coverage, the CYVIO N1814 4K Long-Range WiFi Solar System provides a solution with long-distance WiFi transmission, 4K video quality, color night vision, solar power, and local storage. Actual wireless range depends on environmental factors such as walls, terrain, interference, installation height, and camera direction, so testing the location before installation is recommended.
Common Wireless Security Camera Installation Mistakes
Even a high-quality camera may not perform well if installation mistakes are made.
Installing the camera without testing WiFi is one of the most common problems. A camera may show excellent footage during setup but become unreliable after being mounted too far from the router.
Another mistake is choosing a location only based on coverage area. A wide view is useful, but important details should remain visible.
Some users also ignore maintenance after installation. Outdoor cameras should be checked regularly, including lens cleaning, battery status, solar panel condition, mounting stability, and waterproof connections.
A reliable security camera system requires both good hardware and proper installation practices.
Wireless Security Camera Maintenance Tips After Installation
Installing a wireless security camera is only the first step. Regular maintenance helps ensure stable performance and reliable monitoring over time.
For outdoor security cameras, clean the lens regularly to remove dust, water marks, and other stains that may affect image clarity.
If you are using a solar-powered security camera, keep the solar panel clean by removing dust, leaves, or other debris that may block sunlight and reduce charging efficiency.
Regularly check the camera’s operating condition, including whether the device remains online, whether the battery level is sufficient, whether the mounting bracket is secure, and whether waterproof connections are working properly.
It is also recommended to test important functions periodically, including night vision, motion detection, mobile notifications, two-way audio, and video playback.
If the camera becomes offline or recording performance is abnormal, troubleshoot step by step. Start by checking the power supply, then confirm WiFi signal stability, router connection, mobile app settings, and finally the storage card.
Following this troubleshooting order is usually more efficient than immediately resetting the camera to factory settings.
Conclusion
Installing a wireless security camera does not have to be complicated. With proper planning, most homeowners can complete the process successfully without professional help.
The key is to follow the right order: choose the monitoring area first, test WiFi and power conditions, install the camera securely, adjust settings carefully, and maintain the system regularly.
A well-installed wireless security camera provides more than video recording. It creates a reliable security solution that helps you monitor important areas, receive timely alerts, and protect what matters most.
FAQ
1.Can I install a wireless security camera myself?
Yes. Most wireless security cameras are designed for DIY installation. With basic tools and proper setup steps, homeowners can usually complete the installation themselves.
2.Where is the best place to install an outdoor wireless security camera?
Popular locations include front doors, garages, driveways, gates, and backyard entrances. The camera should cover important areas while avoiding direct sunlight and strong reflections.
3.Do wireless security cameras need WiFi?
Most wireless cameras require WiFi for remote viewing and mobile notifications. Some models can continue recording locally through a microSD card depending on the device features.
4.How high should a wireless security camera be installed?
For most outdoor home applications, an installation height of around 2.5 to 3.5 meters is recommended.
5.Why does my wireless camera keep disconnecting?
Frequent disconnections are usually related to weak WiFi signals, router distance, interference, or unstable power supply. Testing the installation location before mounting can help prevent this issue.
6.Can a solar-powered security camera work in areas with limited sunlight?
Solar-powered cameras work best when the panel receives sufficient direct sunlight. Before installation, check whether trees, walls, or roof structures block sunlight.
7.How often should I maintain my wireless security camera?
Regular checks are recommended. Clean the lens, inspect mounting parts, check battery levels, and confirm that recording and notifications work properly.