









How to Improve Security Camera Night Vision: 9 Ways to Get Clearer Footage at Night

Nighttime is when a home security camera often matters most—and when poor image quality can become a serious problem.
A camera may produce sharp, detailed footage during the day, only for the same scene to become dark, grainy, or blurry after sunset. Faces can become difficult to see, important details can disappear into shadows, and excessive image noise can make recorded footage much less useful.
The good news is that poor night vision is not always caused by the camera itself. Lighting conditions, lens aperture, image sensor size, infrared illumination, installation position, and camera settings can all affect nighttime video quality.
Whether you already own a security camera or are looking for a night vision home security camera, understanding these factors can help you get much clearer footage after dark.
In this guide, we'll explain why security camera night vision can look poor and what you can do to improve it—from simple installation adjustments to choosing better low-light hardware.
Why Does My Security Camera Look Bad at Night?
Before replacing a camera, it is worth figuring out what is actually causing the problem. Nighttime image quality depends on much more than resolution alone.

1. The Camera Sensor May Not Capture Enough Light
The image sensor is one of the most important components affecting low-light performance. When the available light decreases, the sensor has to work harder to produce a usable image.
Smaller sensors generally have less light-gathering capability under the same conditions, which can result in darker footage and more visible digital noise at night.
This is why two cameras with the same resolution can produce very different nighttime images. A higher megapixel count does not automatically mean better night vision.
For homeowners comparing low light security cameras, sensor size should therefore be considered alongside resolution rather than treated as an afterthought.
2. The Lens Aperture Can Make a Big Difference
Lens aperture determines how much light reaches the image sensor. The smaller the F-number, the larger the aperture and the more light the lens can let in.
For example, a lens with an F1.6 aperture can gather substantially more light than an F2.4 lens under comparable conditions. More available light can help the camera produce a brighter image without relying entirely on aggressive image processing.
This is particularly important for outdoor areas, driveways, entrances, yards, and other locations where there may be very little ambient light after sunset.
If nighttime performance is a priority, look beyond resolution and check the lens aperture when comparing a security camera with night vision.
3. Weak or Poorly Matched Infrared Illumination
Traditional night vision commonly relies on infrared (IR) illumination to help the camera capture footage when visible light is limited.
However, simply having infrared LEDs does not guarantee good night vision.
The number of IR LEDs, their illumination power, and their effective range all affect how well the camera can illuminate a scene. If the monitored area is farther away than the effective IR range, the camera may produce a bright foreground while the background remains almost completely dark.
This is one reason infrared security cameras should be selected according to the actual size and layout of the area being monitored.
For a small hallway, a short-range indoor camera may be sufficient. For a driveway, backyard, warehouse entrance, or large outdoor property, a longer effective illumination range may be much more important.
4. Check Where the Camera Is Installed
Even a capable camera can deliver poor night footage if it is installed in the wrong location.
One of the most common problems occurs when an infrared security camera is installed behind a window or glass door.
When IR light hits the glass, some of that light can reflect directly back toward the camera lens. Instead of illuminating the outdoor scene, the reflected light can create a bright haze or halo in front of the lens, making the image appear washed out.
If possible, avoid placing an infrared camera directly behind glass.
For outdoor monitoring, mounting the camera outside the window is generally a better option. If that is not possible, disabling the camera's IR mode and using an external light source may help, depending on the camera and environment.
The installation distance also matters. IR illumination spreads across a specific area rather than covering everything equally. Mounting a camera too high or pointing it too far away from the target can leave important areas outside the strongest illumination zone.
A practical starting point is to mount the camera around 2.5–3 meters high and then adjust the viewing angle based on the actual scene. The original guide recommends this range as a useful starting point, while emphasizing that the final angle should be adjusted according to the monitored area.
5. Adjust Exposure Settings for Dark Environments
Camera exposure settings can also have a major impact on nighttime footage.
In very low-light conditions, a longer exposure can allow the image sensor to collect more light, making the scene appear brighter. For example, changing the exposure time from 1/30 second to 1/15 second can increase the amount of light captured.
However, there is an important trade-off.
If the exposure becomes too long, moving people, vehicles, or pets may appear blurred. A brighter image is not necessarily a better security image if important movement becomes difficult to see.
For security cameras, the goal is not simply to make the picture as bright as possible. The goal is to find a practical balance between brightness, motion clarity, and visible detail.
This is especially important for entrances, driveways, gates, and other areas where people or vehicles may move through the scene quickly.
6. Use Additional Lighting When the Environment Is Too Dark
Sometimes the simplest solution is to add more light.
A motion-activated light, porch light, or dedicated outdoor illuminator can significantly improve the lighting conditions around a security camera. More ambient light can also allow a compatible camera to switch from traditional infrared night vision to a color night vision mode.
This can provide much more visual information than a conventional black-and-white image.
For example, instead of simply seeing a person's silhouette, a color night vision camera may preserve additional information about clothing, vehicles, objects, or the surrounding environment.
That does not mean every location needs a bright permanent light. In residential environments, motion-activated lighting can provide a practical compromise: the area remains relatively dark most of the time, while additional illumination is available when activity occurs.
What to Look for When Buying a Night Vision Security Camera
If your current camera still struggles after adjusting its installation and settings, the hardware itself may be the limiting factor.
When choosing security cameras with night vision, several specifications deserve particular attention.
Larger Image Sensors
A larger image sensor can generally collect more light under comparable conditions. For example, the original guide notes that a 1/1.8-inch sensor can provide stronger light-gathering capability than a 1/3-inch sensor at the same resolution.
That can translate into brighter nighttime images and less visible noise.
Of course, sensor size should not be considered in isolation. Lens quality, image processing, illumination, and the surrounding environment all contribute to the final result.
A Wider Lens Aperture
Look for a lower F-number when low-light performance is important.
F1.6 and F2.0 lenses can generally provide more light than F2.4 or F2.8 lenses, which can be especially useful when there is little ambient lighting.
This is one reason CYVIO's camera lineup includes models designed around larger-aperture lenses for nighttime monitoring.

Appropriate IR Illumination
If you are choosing a traditional infrared night vision camera, check its effective IR range rather than simply looking for the presence of IR LEDs.
The illumination range should match the distance between the camera and the areas you actually need to monitor.
A camera with excellent short-range night vision may not be the best choice for a large backyard or long driveway.
Color Night Vision
For many residential applications, full-color night vision can provide an additional layer of useful visual information.
Instead of relying entirely on black-and-white infrared footage, compatible cameras can use visible-light illumination or built-in spotlights to produce color footage in low-light conditions.
CYVIO currently offers cameras with multiple night vision modes, including infrared, full-color, and smart night vision options on selected models.
This gives homeowners more flexibility depending on how dark the environment is and how much visual detail they want to preserve.
How to Improve Security Camera Night Vision Through Installation and Settings
Even if your security camera hardware is already in place, the right installation and camera settings can make a noticeable difference in nighttime image quality. Before replacing the camera, check whether the way it is installed and configured is limiting its night vision performance.
Avoid Installing the Camera Behind Glass
If a security camera is installed inside a window or behind a glass door, infrared light can reflect off the glass and return toward the camera lens. This can create a bright halo or hazy reflection that partially blocks the view and makes nighttime footage difficult to use.
For the best results, install the camera outside the window whenever possible. If outdoor installation is not practical, consider disabling infrared night vision and using an external light source instead. The right approach will depend on the camera and the lighting conditions around the monitored area.
Adjust the Camera's Mounting Height and Viewing Angle
The infrared illumination produced by a security camera spreads outward in a cone-shaped pattern. If the camera is mounted too high, the strongest part of the illumination may not cover the areas you actually want to monitor, leaving the ground or important activity zones too dark.
As a general starting point, a mounting height of around 2.5 to 3 meters can work well for many residential installations. However, there is no single height that works for every property. After mounting the camera, check the nighttime footage and adjust the tilt angle so the target area falls within the effective illumination range.
This is particularly important for driveways, entrances, yards, and other areas where you need to capture activity at a specific distance from the camera.
Balance Exposure and Wide Dynamic Range Settings
Exposure settings can also affect how well a camera performs in low-light conditions.
When the environment is very dark, increasing the exposure time can allow the image sensor to capture more light. For example, changing the exposure from 1/30 second to 1/15 second may produce a brighter image.
However, longer exposure is not always better for security monitoring. If a person, vehicle, or pet moves through the scene, excessive exposure time can introduce motion blur and make important details harder to see.
The goal is therefore to find the right balance between brightness and motion clarity.
Wide Dynamic Range (WDR) can also be useful in scenes where bright and dark areas exist at the same time. For example, a camera monitoring an entrance may face a combination of a relatively dark yard and a bright porch light. Properly configured WDR can help the camera handle these differences in brightness more effectively.
Add an External Light Source When Necessary
If the monitored area is simply too dark, adding an external light source can be one of the most effective ways to improve nighttime footage.
A motion-activated light or a continuously illuminated security light can increase the amount of visible light around the camera. With compatible cameras, additional illumination may also allow the camera to switch from infrared night vision to a full-color mode, providing more visual information than conventional black-and-white footage.
For residential applications, motion-activated lighting can be especially practical. It provides additional illumination when activity is detected without requiring the area to remain brightly lit throughout the entire night.

How CYVIO Improves Nighttime Security Camera Performance
For home security, reliable nighttime monitoring depends on more than simply adding infrared lights to a camera. Lens aperture, supplemental lighting, image processing, and camera design all affect how clearly a security camera can capture activity after dark. CYVIO combines these elements to provide different night vision solutions for both continuous outdoor monitoring and flexible indoor surveillance.
CYVIO Fixed Wired Security Cameras with PoE

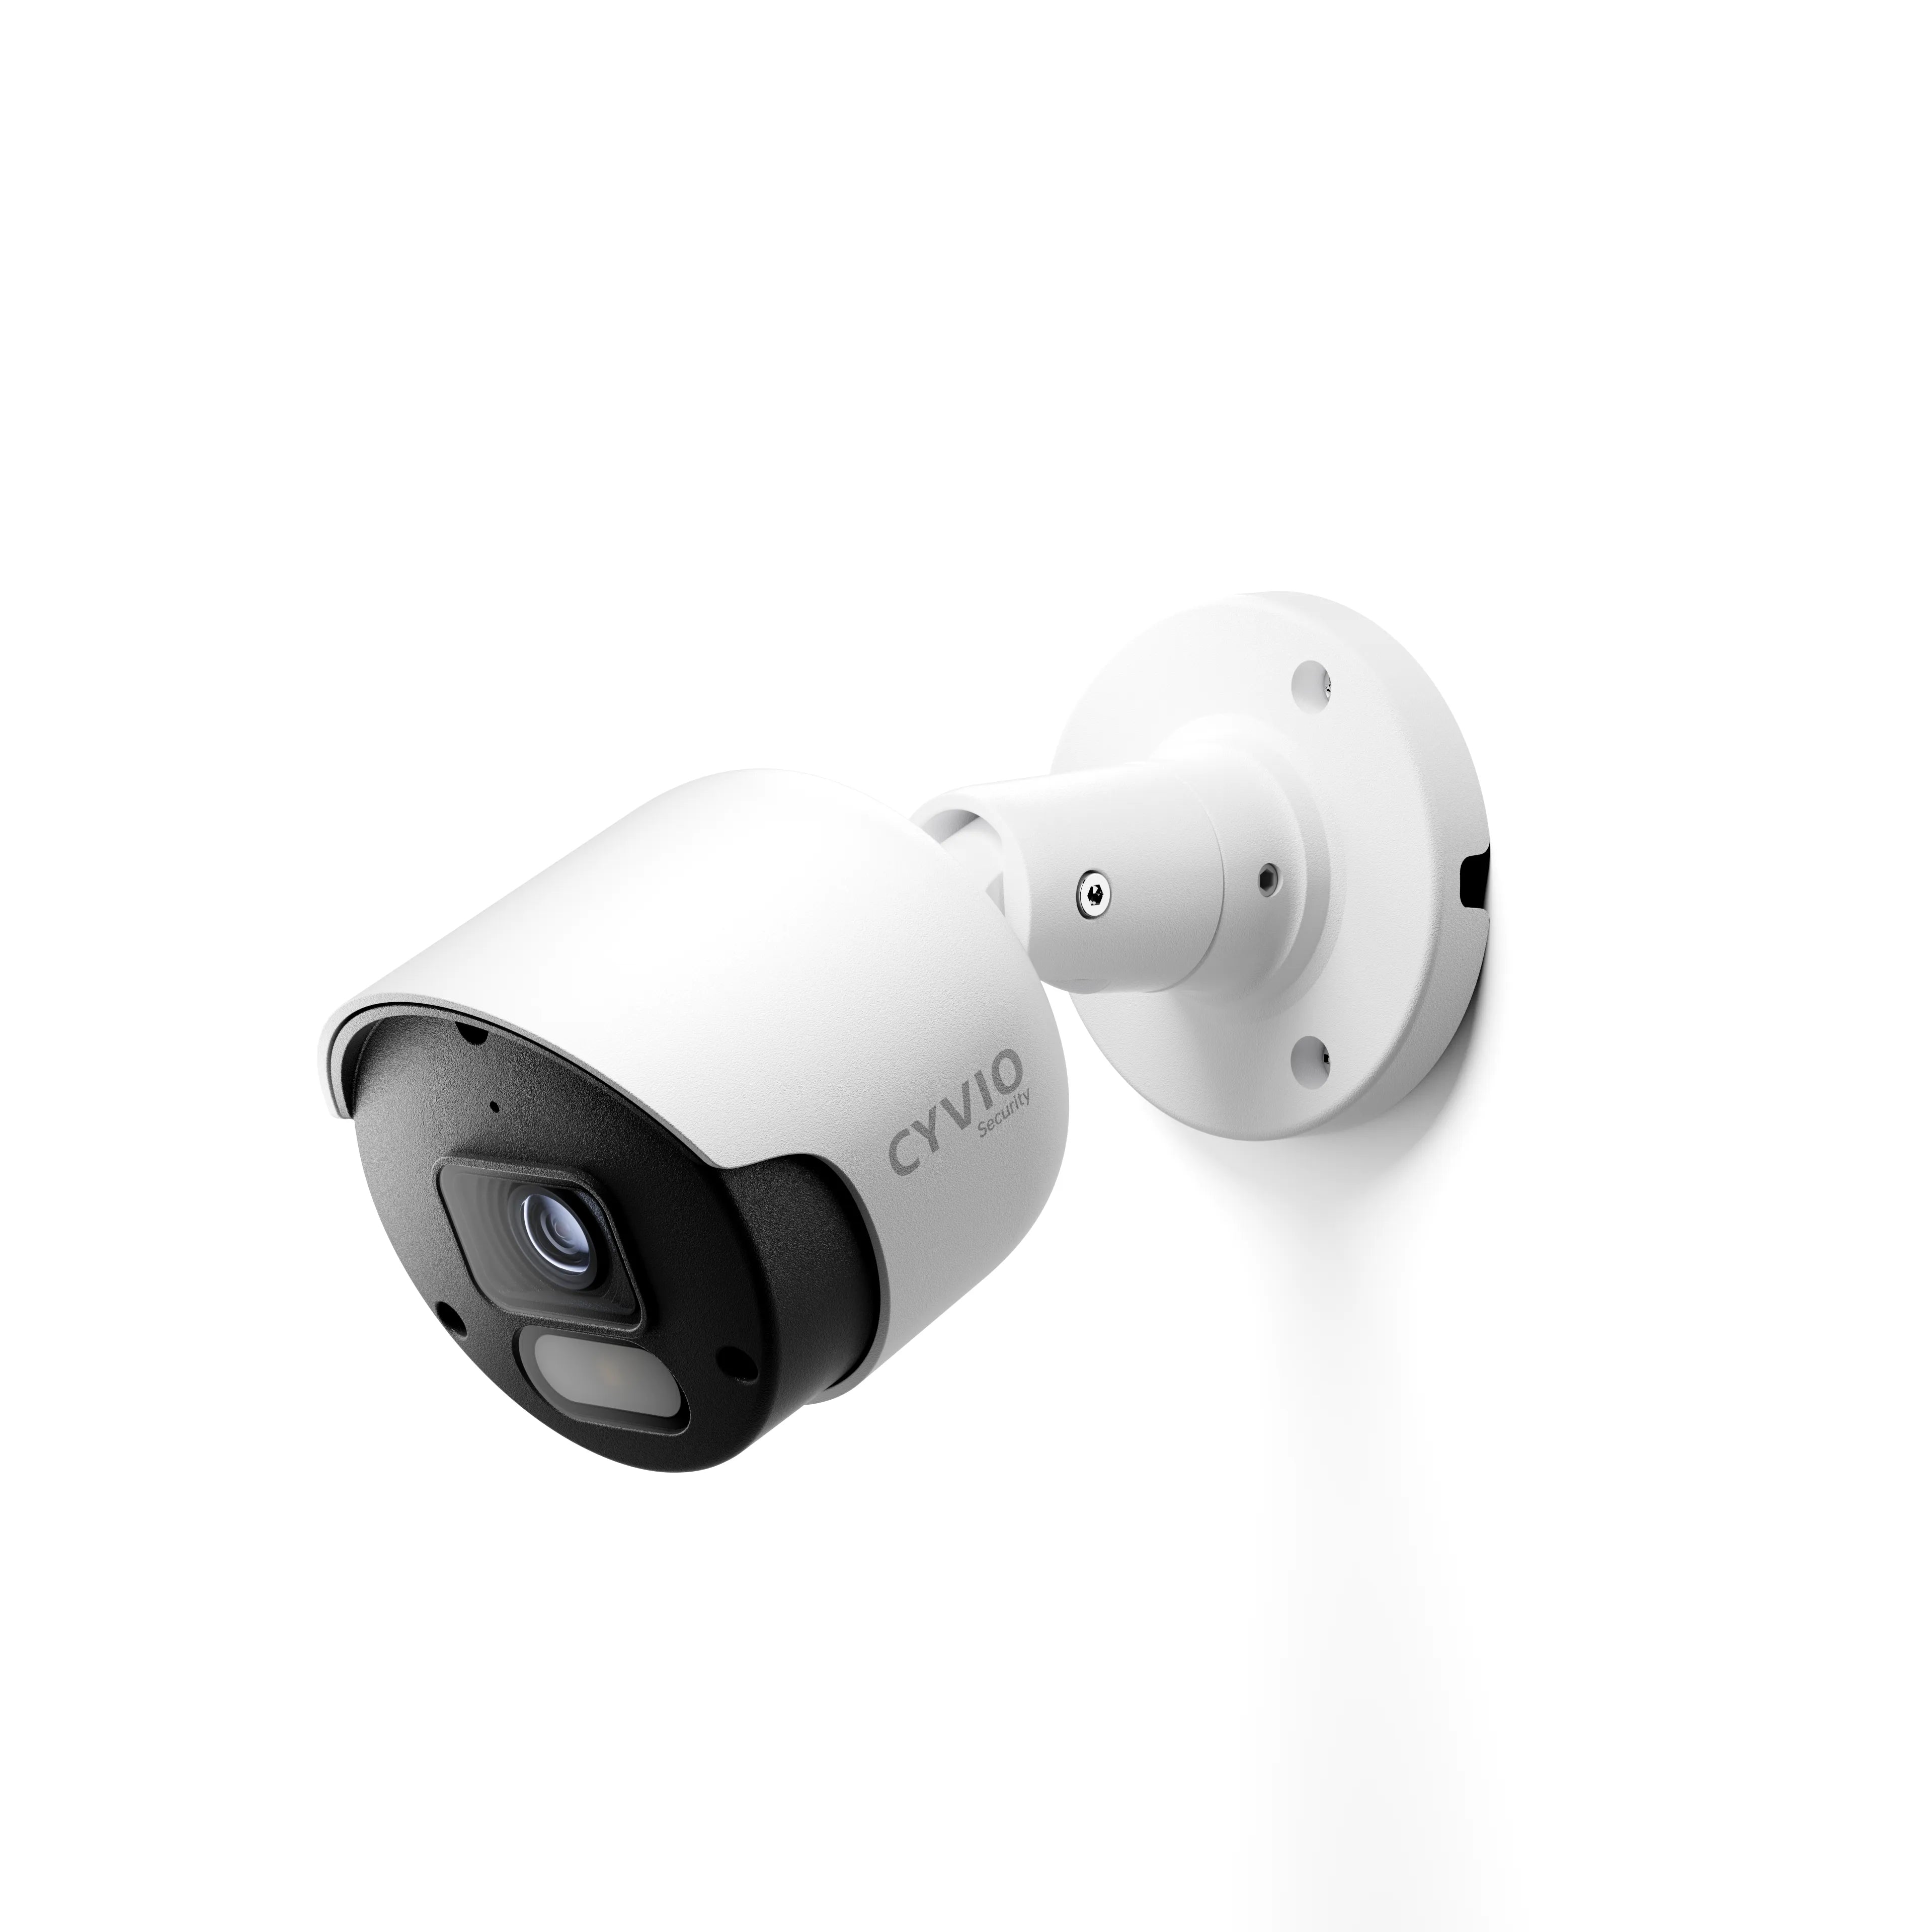
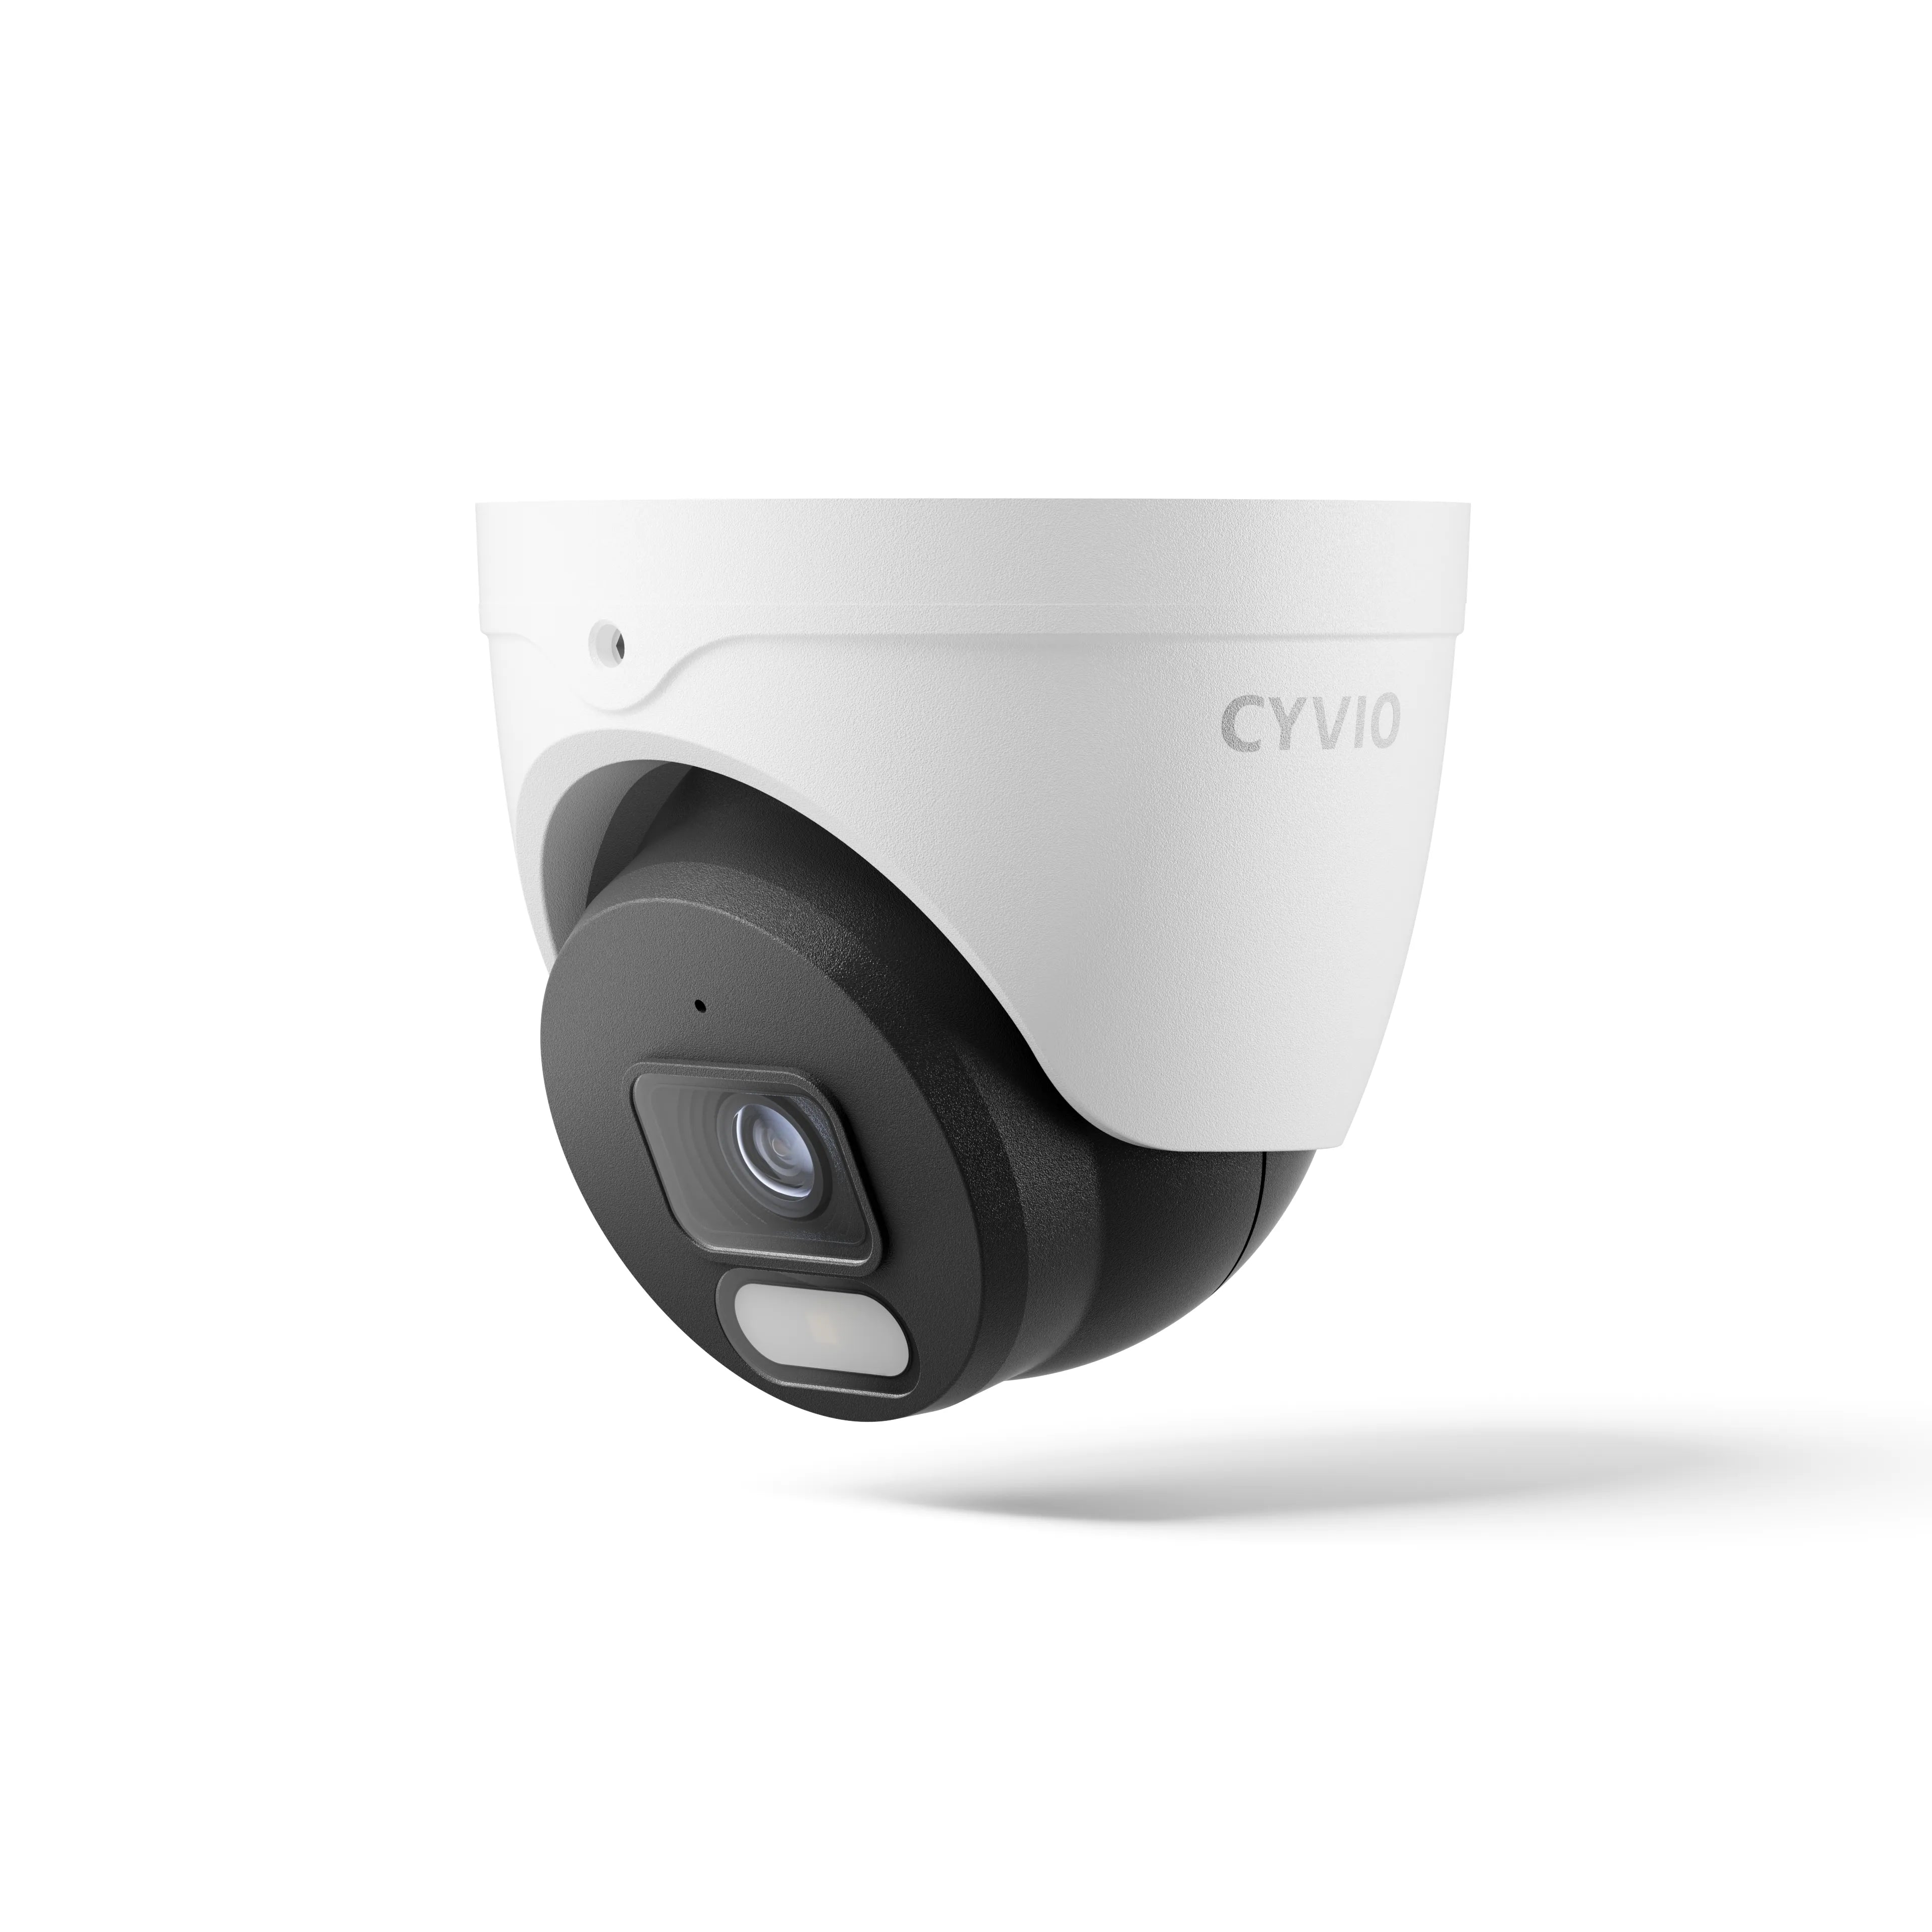
For homeowners who need reliable 24/7 monitoring, CYVIO N2834 PoE security cameras are designed for locations such as driveways, yards, garages, and the exterior of the home. Their night vision performance is built around several technologies that work together to maintain image quality in low-light conditions.
The F1.6 large-aperture lens allows more light to reach the image sensor, helping produce brighter images in darker environments and preserve more visible detail at night. The camera also uses Smart IR to adjust infrared illumination according to the distance of the subject. This helps reduce overexposure when an object is close to the camera while providing more useful illumination for areas farther away.
When low light causes visible image noise, 3D DNR (3D Digital Noise Reduction) helps suppress unwanted noise while maintaining important details in the footage. This is particularly useful for nighttime security footage, where excessive noise can make moving subjects and other details harder to see. For outdoor installations, IP67 weather resistance adds another layer of protection against dust and water, helping the camera remain dependable through changing weather conditions.

CYVIO Indoor Smart Pan-Tilt Security Camera
For indoor monitoring, CYVIO C2 indoor camera takes a more flexible approach by combining night vision with pan-tilt movement and intelligent monitoring features. The F2.0 large-aperture lens helps the camera capture more light in dim indoor environments, while its dual-light setup combines infrared and warm light for different nighttime viewing needs. Depending on the lighting conditions and selected mode, the camera can provide infrared or full-color night vision. CYVIO C2, for example, supports infrared, full-color, and motion-triggered night vision modes.
The camera also supports human detection and human tracking, allowing it to detect movement and automatically follow a person within its viewing area. When additional illumination is needed, the warm light can help provide a clearer full-color view of nighttime activity. This combination makes the camera more suitable for monitoring spaces such as living rooms, bedrooms, nurseries, and other areas where activity can occur outside a fixed viewing angle.
For situations that require immediate interaction, two-way audio allows users to communicate through the CYVIO mobile app. Whether checking on a family member, talking to a pet, or responding to unexpected activity, users can view the live feed and communicate remotely without being physically present.
A Simple Night Vision Optimization Checklist
If your security camera footage looks poor after dark, start with the basics before buying a replacement.
First, check whether the camera is positioned behind glass or facing a strong light source. Then check whether the monitored area is actually within the camera's effective IR illumination range.
Next, review the camera's exposure and night vision settings. If the scene is still too dark, consider adding a motion-activated light or another suitable light source.
If the problem continues, it may be time to evaluate the camera's hardware. Look for a larger image sensor, a wider aperture, suitable IR illumination, and—if color information is important—a full-color night vision mode.
This approach can help you determine whether the problem is caused by installation, settings, lighting, or the camera itself instead of replacing equipment unnecessarily.

Final Thoughts: Better Night Vision Starts With the Right Setup
Good nighttime surveillance is about more than choosing the highest resolution security camera.
A camera needs enough light, an appropriate lens and sensor, effective infrared or visible-light illumination, and the right installation position. Settings such as exposure and noise reduction also need to work together rather than being optimized individually.
If you are trying to improve your existing setup, start with the environment and installation. If you are shopping for a new night vision home security camera, pay closer attention to low-light performance, aperture, sensor size, IR range, and color night vision instead of looking only at megapixels.
With the right combination of hardware and setup, your security camera can provide much clearer footage after sunset—helping you monitor entrances, driveways, yards, hallways, and other important areas around your home throughout the night.
FAQ
1. Why is my security camera blurry at night?
Nighttime blur can be caused by insufficient lighting, slow exposure settings, weak infrared illumination, or movement in the scene. If the exposure time is too long, moving people or vehicles may appear blurred.
2. How can I improve my security camera night vision?
Start by checking the camera's installation position, especially if it is behind glass. Make sure the monitored area is within the effective IR range, adjust exposure settings carefully, and consider adding an external light source. If these changes do not help, upgrading to a camera designed for low-light performance may be necessary.
3. Are infrared security cameras good for nighttime surveillance?
Yes. Infrared night vision allows compatible security cameras to capture footage even when visible light is very limited. However, performance depends on the camera's sensor, lens, IR illumination range, installation, and surrounding environment.
4. What is the difference between infrared and color night vision?
Infrared night vision typically produces black-and-white footage in dark conditions, while color night vision uses additional visible-light illumination to preserve color information. Color footage can provide more useful visual details when the environment and camera support it.
5. Is a larger aperture better for night vision?
A larger aperture generally allows more light to reach the image sensor. In practical terms, a lower F-number such as F1.6 or F2.0 can be advantageous in low-light conditions compared with a smaller aperture such as F2.4 or F2.8.
6. Can I install a night vision camera behind a window?
It is generally not ideal when the camera uses infrared illumination. IR light can reflect off the glass and create glare or a bright halo that interferes with the image. If possible, install the camera outside the window or use an appropriate external light source.
7. Do I need color night vision for home security?
Not necessarily. Traditional infrared night vision can work well when you mainly need visibility and movement monitoring. Color night vision can be useful when additional visual information, such as clothing or vehicle color, is important.
8. What should I look for in a night vision security camera?
Consider the image sensor, lens aperture, infrared illumination range, low-light performance, noise reduction, installation environment, and whether the camera supports color or smart night vision. For outdoor installations, weather resistance is also important.