












Power over Ethernet has made wired security camera installation much simpler by allowing a single Ethernet cable to carry both electrical power and video data. If you are considering installing PoE security cameras, understanding how the cameras, NVR, Ethernet cables, router, and storage work together can help you plan the installation correctly from the beginning.
Unlike a typical Wi-Fi camera that needs a wireless connection and may also require a nearby electrical outlet, a PoE camera can receive power and transmit video through the same network cable. In a common home or small-business setup, each camera connects directly to a PoE-capable Network Video Recorder (NVR), which powers the cameras and stores their recordings.
The physical installation is usually the most time-consuming part. Running Ethernet cable through walls, ceilings, attics, exterior surfaces, or conduit requires more planning than configuring the camera itself.
This guide explains the complete process, from planning camera positions and selecting Ethernet cable to connecting the NVR, setting up recording, configuring remote viewing, and troubleshooting common PoE installation problems.
What Is a PoE Security Camera System?
PoE stands for Power over Ethernet.
A PoE security camera uses an Ethernet cable for two functions:
Power + Data → One Ethernet Cable
Instead of connecting each camera to both an electrical outlet and a separate network connection, the Ethernet cable carries electrical power from the PoE source while also transmitting video and network data.
A typical PoE surveillance system contains:
- PoE security cameras
- Network Video Recorder (NVR)
- Ethernet cables
- Hard drive or other recording storage
- Router for network and remote access
- Monitor or TV for initial setup
- Optional PoE switch for larger or more complex installations
In many packaged systems, the NVR includes built-in PoE ports.
The basic connection looks like this:
PoE Camera → Ethernet Cable → PoE NVR
For remote viewing:
PoE Camera → NVR → Router → Internet → Mobile App
The cameras themselves do not need Wi-Fi in this configuration.
Why Use PoE for Security Cameras?
PoE is particularly useful for permanent surveillance installations because power and network communication share one cable.
That can simplify wiring compared with systems that require separate power adapters for every camera.
Other practical advantages include:
- Centralized camera power
- Wired network communication
- Local NVR recording
- Support for continuous recording
- Easier multi-camera management
- No need for a power outlet beside every camera
- Straightforward expansion when NVR channels remain available
PoE is therefore commonly considered for:
- Homes
- Offices
- Retail stores
- Warehouses
- Garages
- Parking areas
- Workshops
- Multi-camera outdoor installations
The main trade-off is installation effort.
You need to physically run an Ethernet cable from each camera to the recorder or PoE network equipment.
PoE Camera Installation Diagram
For a basic PoE NVR system, the layout is straightforward:
Camera 1 ── Ethernet ──┐
Camera 2 ── Ethernet ──┤
Camera 3 ── Ethernet ──┤→ PoE NVR → Router → Internet
Camera 4 ── Ethernet ──┘
↓
Monitor / TV
↓
Internal HDD
Each camera has an individual Ethernet cable running back to the NVR.
The NVR then handles:
- Camera power
- Video recording
- Playback
- Camera configuration
- Storage
- Network access
This type of layout is often described as a home-run cable design, because every camera cable returns to a central location.
Check out this guide: Security Camera Installation
What Do You Need Before Installing PoE Security Cameras?
Prepare your equipment before drilling holes or pulling cable.
Essential Equipment
You will normally need:
- PoE cameras
- PoE-capable NVR or PoE switch
- CAT5e or CAT6 Ethernet cable
- RJ45 connectors if terminating your own cables
- Network router
- NVR hard drive if storage is not included
- Monitor or TV
- HDMI cable
- Mouse for NVR setup
- Camera mounting hardware
Installation Tools
Depending on the property, you may also need:
- Drill
- Drill bits
- Screwdriver
- Cable clips
- Fish tape
- Cable tester
- Crimping tool
- RJ45 plugs
- Junction boxes
- Outdoor conduit
- Weather-resistant cable glands
- Ladder
If you are drilling through walls, ceilings, or exterior structures, verify that the area does not contain electrical wiring, plumbing, or other utilities before drilling.
For difficult cable routes or locations that require working at height, professional installation may be more appropriate.
Want to understand the technology behind surveillance? Read more on: How Do Security Cameras Work?
CAT5e vs. CAT6 for PoE Security Cameras
Both CAT5e and CAT6 cables are commonly used for PoE surveillance.
For many home camera installations, either can provide sufficient bandwidth.
CAT5e
CAT5e supports Gigabit Ethernet under standard network conditions and is commonly used for IP surveillance.
It can be a practical choice for:
- 1080p cameras
- 2K cameras
- 4K cameras
- Typical residential PoE installations
CAT6
CAT6 provides greater bandwidth capability and improved specifications for reducing crosstalk.
It may be useful when:
- Installing new permanent wiring
- Several network devices share infrastructure
- You want additional networking headroom
- The installation environment has greater interference concerns
The quality of the cable is at least as important as the category printed on it.
Avoid extremely thin or poorly constructed Ethernet cables for long permanent PoE runs.
Solid Copper vs. CCA Ethernet Cable
For permanent PoE camera wiring, solid copper Ethernet cable is generally preferable to copper-clad aluminum (CCA).
PoE sends electrical current through the network cable in addition to data.
Copper provides better electrical conductivity than aluminum-based conductors.
For longer runs or cameras requiring more power, cable resistance becomes increasingly important.
When purchasing cable for a permanent PoE installation, check the actual conductor material rather than choosing solely by price.
Not sure how many cameras your home needs? Check out: How Many Security Cameras Do I Need?
Indoor vs. Outdoor Ethernet Cable
If cable runs outside the building, use cable intended for the environment.
Outdoor-rated Ethernet cable typically provides additional protection against:
- UV exposure
- Moisture
- Temperature changes
- Outdoor deterioration
Even outdoor-rated cable should be routed carefully.
If cable is exposed to harsh conditions or physical damage, conduit may provide additional protection.
Do not assume that an indoor Ethernet patch cable is appropriate simply because the camera itself has a weather-resistant housing.
Plan Camera Locations Before Running Cable
Proper planning can save a considerable amount of installation work.
Before mounting anything, walk around the property and identify the areas that actually need visual coverage.
Common locations include:
- Front door
- Driveway
- Garage
- Backyard
- Side entrances
- Gates
- Parking areas
- Loading areas
- Hallways
- Storage rooms
Then determine where each camera should face.
Ask:
- What area needs to be visible?
- How far away is the important subject?
- What happens at night?
- Could a wall, roof, tree, or pillar block the view?
- Will sunlight shine directly into the lens?
- Can the Ethernet cable reach this location?
- Can the camera be serviced later?
Camera placement should be decided according to useful coverage rather than simply choosing the easiest place to drill.
How High Should You Mount a PoE Security Camera?
There is no single mounting height that works for every installation.
A camera needs to be high enough to provide useful coverage and reduce accidental contact while remaining low enough to capture meaningful detail.
Mounting a camera extremely high can create a steep viewing angle.
Instead of capturing a useful view of a person's face, the camera may mostly show the top of their head.
At entrances, consider positioning the camera so that approaching people pass through a useful portion of the frame.
For larger areas such as parking lots or warehouses, greater mounting height may make sense because the priority is broader coverage.
Always evaluate the actual image after mounting rather than relying solely on the physical camera position.
Test Cameras Before Permanent Installation
Before pulling cable through walls, temporarily connect every camera to the NVR.
This simple step can save substantial troubleshooting later.
Connect:
Camera → Ethernet Cable → NVR PoE Port
Then verify:
- Camera powers on
- Video appears
- Resolution is correct
- Night vision activates
- Motion detection works
- NVR recognizes the camera
- Recording is functioning
Testing cameras first helps separate hardware issues from installation issues.
If a camera stops working after being mounted, you will know that the camera itself was functional before the cable run.
How to Install PoE Security Camera System Step by Step
The following process covers a typical NVR-based installation.
Step 1: Decide Where the NVR Will Go
The NVR becomes the central point of the system.
Choose a location with access to:
- Electrical power
- Router or network connection
- Camera cable routes
- Monitor or TV during setup
- Adequate ventilation
Possible locations include:
- Office
- Equipment room
- Network cabinet
- Utility room
- Secure closet
Avoid locations exposed to excessive heat, moisture, or dust.
Also think about cable routing before committing to the NVR position.
If all cameras are located on the opposite side of the property, placing the recorder in an inconvenient corner can create unnecessarily long cable runs.
Step 2: Plan the Ethernet Cable Routes
Determine how each camera cable will reach the recorder.
Possible routes include:
- Attic
- Crawl space
- Ceiling
- Interior walls
- Exterior walls
- Conduit
- Cable trays
Try to keep cable runs organized and accessible where possible.
Avoid routing Ethernet cable directly alongside high-voltage electrical wiring for long distances.
If Ethernet must cross electrical wiring, crossing at approximately a right angle can help reduce interference.
Step 3: Measure Before Cutting Cable
Measure each planned route and add some extra cable.
Do not cut the cable to the exact estimated distance.
Additional slack is useful for:
- Terminating connectors
- Moving the NVR
- Adjusting camera location
- Future servicing
- Correcting measurement errors
A small service loop near the camera or recorder can make future maintenance much easier.
Avoid excessive tightly coiled cable, however.
Step 4: Run the Ethernet Cable
Run one cable from each camera location back to the PoE NVR.
A basic four-camera setup therefore requires four camera cable runs.
Label each cable as you install it.
For example:
- Front Door
- Driveway
- Backyard
- Garage
Label both ends.
This may seem unnecessary when installing only four cameras, but it becomes very useful when troubleshooting eight or sixteen-camera systems.
Step 5: Protect Outdoor Connections
Outdoor Ethernet connections deserve particular attention.
A weather-resistant camera housing does not automatically make an exposed RJ45 connector weather-resistant.
Water entering the Ethernet connection can cause:
- Corrosion
- Intermittent connection
- PoE power problems
- Camera disconnection
Where possible, place cable connections inside:
- Junction boxes
- Weather-protected mounting spaces
- Suitable outdoor enclosures
Use manufacturer-provided weatherproof connectors where available.
Also create a drip loop when appropriate so that water following the cable does not naturally flow toward the connector.
Step 6: Terminate Ethernet Cable if Necessary
Pre-made Ethernet cables already have RJ45 connectors attached.
Bulk cable needs to be terminated.
When terminating your own cable:
- Strip the outer jacket carefully.
- Arrange the conductors according to the chosen wiring standard.
- Keep twisted pairs intact as close to the connector as practical.
- Insert conductors completely into the RJ45 plug.
- Crimp the connector.
- Test the cable.
Use the same wiring standard at both ends.
T568B is commonly used for Ethernet installations, although T568A also works when consistently terminated.
The important requirement is correct pin order at both ends.
Step 7: Test Every Ethernet Cable
A basic network cable tester can identify many installation problems before the cameras are mounted permanently.
Test for:
- Open conductors
- Shorts
- Crossed wires
- Incorrect pin order
If a camera does not power on after a long cable run, cable testing should be one of the first troubleshooting steps.
Poor RJ45 termination is a common source of installation problems.
Step 8: Mount the Cameras
Use the supplied mounting template or camera base to mark the screw positions.
Then:
- Drill pilot holes where appropriate.
- Install anchors if needed.
- Feed or position the Ethernet cable.
- Attach the camera bracket.
- Connect the Ethernet cable.
- Protect the connector.
- Secure the camera.
- Adjust the approximate viewing angle.
Do not fully finalize the camera angle yet.
It is easier to fine-tune the view after seeing the live image on the monitor or mobile app.
Step 9: Connect Each Camera to the NVR
Plug each camera's Ethernet cable into one of the NVR's PoE camera ports.
For a compatible plug-and-play system, this connection provides:
- Electrical power
- Network communication
- Video transmission
No separate camera power adapter is required.
For example, the CYVIO N2834 NVR provides eight RJ45 PoE ports supporting IEEE 802.3af/at, while each compatible camera receives power through its Ethernet connection.
This means a four-camera kit can use four ports while leaving additional channels available for compatible future expansion.
Step 10: Connect the NVR to a Monitor
Connect the NVR to a TV or monitor using HDMI.
You will use the display for:
- Initial setup
- Live camera view
- Recording configuration
- Playback
- Network settings
- User management
Connect a USB mouse to navigate the NVR interface.
Once setup is complete, you may not need a dedicated monitor connected continuously if you primarily use remote viewing.
Step 11: Connect the NVR to Your Router
The camera ports and the NVR's network/LAN port perform different functions.
PoE Camera Ports
Connect the cameras.
LAN/Network Port
Connects the NVR to your router or network switch.
This connection allows features such as:
- Remote mobile viewing
- App notifications
- Network time synchronization
- Remote playback
- PC software access
Local camera recording can often continue without internet access, provided the NVR and cameras remain operating locally.
Internet access becomes important when you want to view the system remotely.
Step 12: Power On the NVR
Connect the NVR power supply and start the recorder.
A compatible PoE NVR should begin supplying power to connected cameras.
After startup, wait for the system to recognize each camera.
With a plug-and-play setup, camera feeds may appear automatically.
CYVIO describes the N2834 setup in three main stages: connect the NVR to the router, display and power; connect each camera to a PoE port using Ethernet; then follow the recorder's initial setup instructions.
Step 13: Create a Strong NVR Password
During initial configuration, create a new administrator password.
Do not leave the recorder on a default or easily guessed password.
Use a password that is:
- Unique to the surveillance system
- Difficult to guess
- Different from your Wi-Fi password
- Different from other online accounts
If additional user accounts are needed, create individual accounts rather than sharing the administrator login where the system supports user permissions.
Step 14: Set the Correct Date and Time
Accurate timestamps are important when reviewing recordings.
Configure:
- Time zone
- Date
- Time
- Daylight saving settings where applicable
- Network time synchronization if available
An incorrect camera timestamp can make it difficult to locate footage after an event.
Check the displayed time before finalizing the system.
Step 15: Name Each Camera
Replace generic names such as:
- Camera 1
- Camera 2
- CH1
- CH2
with descriptive names.
For example:
- Front Door
- Driveway
- Backyard
- Garage
This makes notifications and recorded playback much easier to understand.
If an alert says "Driveway – Person Detected," it is immediately more useful than "CH3 – Motion."
Step 16: Adjust Camera Angles
Open the live view and adjust each camera while watching the image.
Check:
- Horizontal coverage
- Vertical angle
- Entrance visibility
- Important objects
- Bright light
- Obstructions
Avoid filling too much of the image with:
- Wall
- Roof
- Sky
- Ground
The monitored area should occupy most of the useful frame.
Step 17: Check Nighttime Viewing
Do not consider installation complete until you inspect the cameras after dark.
Night vision can reveal problems that are invisible during daytime installation.
Common examples include:
- IR reflecting from a nearby wall
- Roof overhang appearing too brightly
- Spider webs reflecting infrared light
- Spotlight glare
- Glass reflecting the camera's own LEDs
Small camera-angle adjustments may solve these issues.
CYVIO's current N2834 cameras support infrared, full-color, and smart night-vision modes; the specifications list a 25 m infrared distance and 20 m full-color night-vision distance.
Step 18: Configure Recording
Next, decide how each camera should record.
Common choices include:
Continuous Recording
Video is recorded throughout the selected schedule.
Useful when you want a complete timeline.
Motion Recording
Video is primarily recorded when motion is detected.
Uses less storage.
Smart Detection Recording
Recording can be linked to events such as:
- Person detection
- Vehicle detection
- Line crossing
- Intrusion zones
Scheduled Recording
Different recording modes can be assigned to different hours or days.
For example:
Business hours → Continuous recording
After hours → Event recording
The appropriate setting depends on how much footage you need and available storage capacity.
Step 19: Configure Motion and Detection Zones
Outdoor cameras often see movement that you do not need alerts for.
Examples include:
- Trees
- Road traffic
- Sidewalks
- Flags
- Shadows
Where available, create detection zones around the parts of the scene that matter.
For example, a driveway camera could focus detection on the driveway while excluding trees at the edge of the frame.
CYVIO's N2834 currently supports person and vehicle detection as well as configurable detection functions such as line crossing and perimeter events.
Detection should still be treated as an assistance feature rather than assuming every event will be classified correctly.
Step 20: Set Up the CYVIO Mobile App
If you are using a compatible CYVIO PoE system, remote features can be accessed through the CYVIO app.
CYVIO currently provides mobile access for:
- Live viewing
- Event notifications
- Recorded footage review
through compatible systems.
After local setup:
- Connect the NVR to your router.
- Install the CYVIO app.
- Add the recorder according to its setup instructions.
- Confirm the NVR appears online.
- Test live viewing.
- Test playback.
- Enable the alerts you want.
Then disconnect your phone from home Wi-Fi and test again using cellular data.
This verifies that remote viewing is actually working away from the property.
Keep your security system working reliably. Check out: Security Camera Maintenance
PoE NVR vs. PoE Switch: What Is the Difference?
Not every PoE camera installation connects cameras directly to an NVR.
There are two common designs.
Method 1: Camera Directly to PoE NVR
Camera → PoE NVR
This is the simpler arrangement.
The NVR contains its own PoE switch and directly powers the cameras.
It is suitable for:
- Homes
- Small businesses
- Straightforward multi-camera systems
- Plug-and-play kits
Method 2: Camera to External PoE Switch
Camera → PoE Switch → Network → NVR
An external PoE switch may be useful when:
- Cameras are concentrated far from the NVR
- Existing network infrastructure is available
- Many cameras are installed
- Cable routes are distributed across buildings
This setup provides additional flexibility but generally requires more networking knowledge.
You may need to consider:
- IP addresses
- Network topology
- PoE power budget
- Switch capacity
- Camera compatibility
For a first-time residential installation, a PoE NVR with built-in camera ports is generally easier to configure.
What Is PoE Power Budget?
When an external PoE switch is used, the number of ports is not the only limitation.
The switch also has a total PoE power budget.
For example, a switch might physically have eight PoE ports but only provide a certain total wattage across all ports.
Each camera consumes part of that available power.
Standard fixed-lens cameras may use relatively modest power, while devices with features such as:
- Large spotlights
- PTZ motors
- Heaters
- Multiple illuminators
may require more.
Before connecting several cameras to an external PoE switch, compare:
Total camera power requirement ≤ Available switch PoE budget
A packaged PoE NVR system simplifies this because the cameras and recorder are designed to operate together.
How Long Can a PoE Ethernet Cable Be?
Standard copper Ethernet networks are generally designed around channel lengths of up to approximately 100 meters / 328 feet.
That does not mean every camera should automatically be installed exactly 100 meters away.
Cable quality, termination, environmental conditions, and PoE power requirements can influence practical performance.
For installations exceeding standard Ethernet distance, possible solutions include:
- PoE extenders
- Additional network switches
- Fiber links with suitable equipment
- Redesigned network layout
Avoid simply joining multiple random Ethernet cables together outdoors to reach a distant camera.
For large properties, plan the network architecture before installation.
Can You Use an Ethernet Coupler for a PoE Camera?
An Ethernet coupler can connect two cables, but every additional connection introduces another potential failure point.
For permanent camera installations, a single uninterrupted cable from the camera to the NVR or switch is preferable when practical.
If a connection must be made outdoors, it requires suitable protection from moisture and corrosion.
A junction box is typically more appropriate than leaving a coupler exposed.
Do PoE Cameras Need Internet?
Not necessarily for basic local surveillance.
A PoE system can typically operate on the local network and record to its NVR without depending on an internet connection.
The basic local path is:
Camera → NVR → HDD
Internet connectivity becomes useful for:
- Remote viewing
- Push notifications
- Remote playback
- Some software features
- Remote administration
This makes PoE different from assuming that an IP camera must continuously upload video to a cloud service.
Do PoE Cameras Need a Router?
If cameras connect directly to a PoE NVR, the NVR can handle the local connection between cameras and recorder.
A router becomes important when you want the surveillance system connected to the wider home or business network.
For example:
Local recording only:
Camera → NVR
Remote smartphone access:
Camera → NVR → Router → Internet → Phone
So a router and internet connection are not the same requirement as camera power.
Concerned about a nearby camera facing your property? Read more on: Neighbor Has a Camera Pointed at My Backyard
Should the NVR Be Connected to the Internet?
Connecting the NVR to the internet enables remote functionality, but network-connected devices should be configured carefully.
Good practices include:
- Change default credentials
- Use a unique administrator password
- Keep device firmware updated
- Review shared users
- Avoid unnecessary port exposure
- Keep the router firmware current
- Remove accounts that are no longer needed
The goal is not simply to make the cameras accessible remotely, but to control who can access them.
Where Should the NVR Be Installed?
Camera placement gets most of the attention, but recorder location also matters.
Look for a place that is:
- Dry
- Ventilated
- Accessible for maintenance
- Close to network equipment
- Practical for cable routing
- Not exposed to direct weather
The recorder also produces heat.
Avoid enclosing it in a small unventilated box.
For business installations, consider whether the recorder should be located in a controlled-access area rather than openly visible.
How Much Storage Does a PoE Camera System Need?
Storage requirements depend on:
- Number of cameras
- Resolution
- Bitrate
- Frame rate
- Compression
- Recording schedule
- Continuous vs. event recording
- Desired retention period
Four 4K cameras recording continuously need much more storage than one camera recording motion events.
Before installation, decide how far back you want to review footage.
Possible retention goals include:
- 7 days
- 14 days
- 30 days
- Longer periods
Then size the hard drive according to actual camera bitrate and recording mode.
Installing CYVIO N2834 as a Practical Example
The CYVIO N2834 4K PoE Security Camera System provides a straightforward example of a plug-and-play PoE installation.
The current system includes:
- Four 8MP / 4K PoE cameras
- 8-channel PoE NVR
- Pre-installed 2TB hard drive
- Support for storage expansion up to 16TB
- H.264/H.265 video compression
- Eight PoE camera ports
- 24/7 continuous recording support
- Person and vehicle detection
- Infrared and color night vision
- Mobile viewing through the CYVIO app
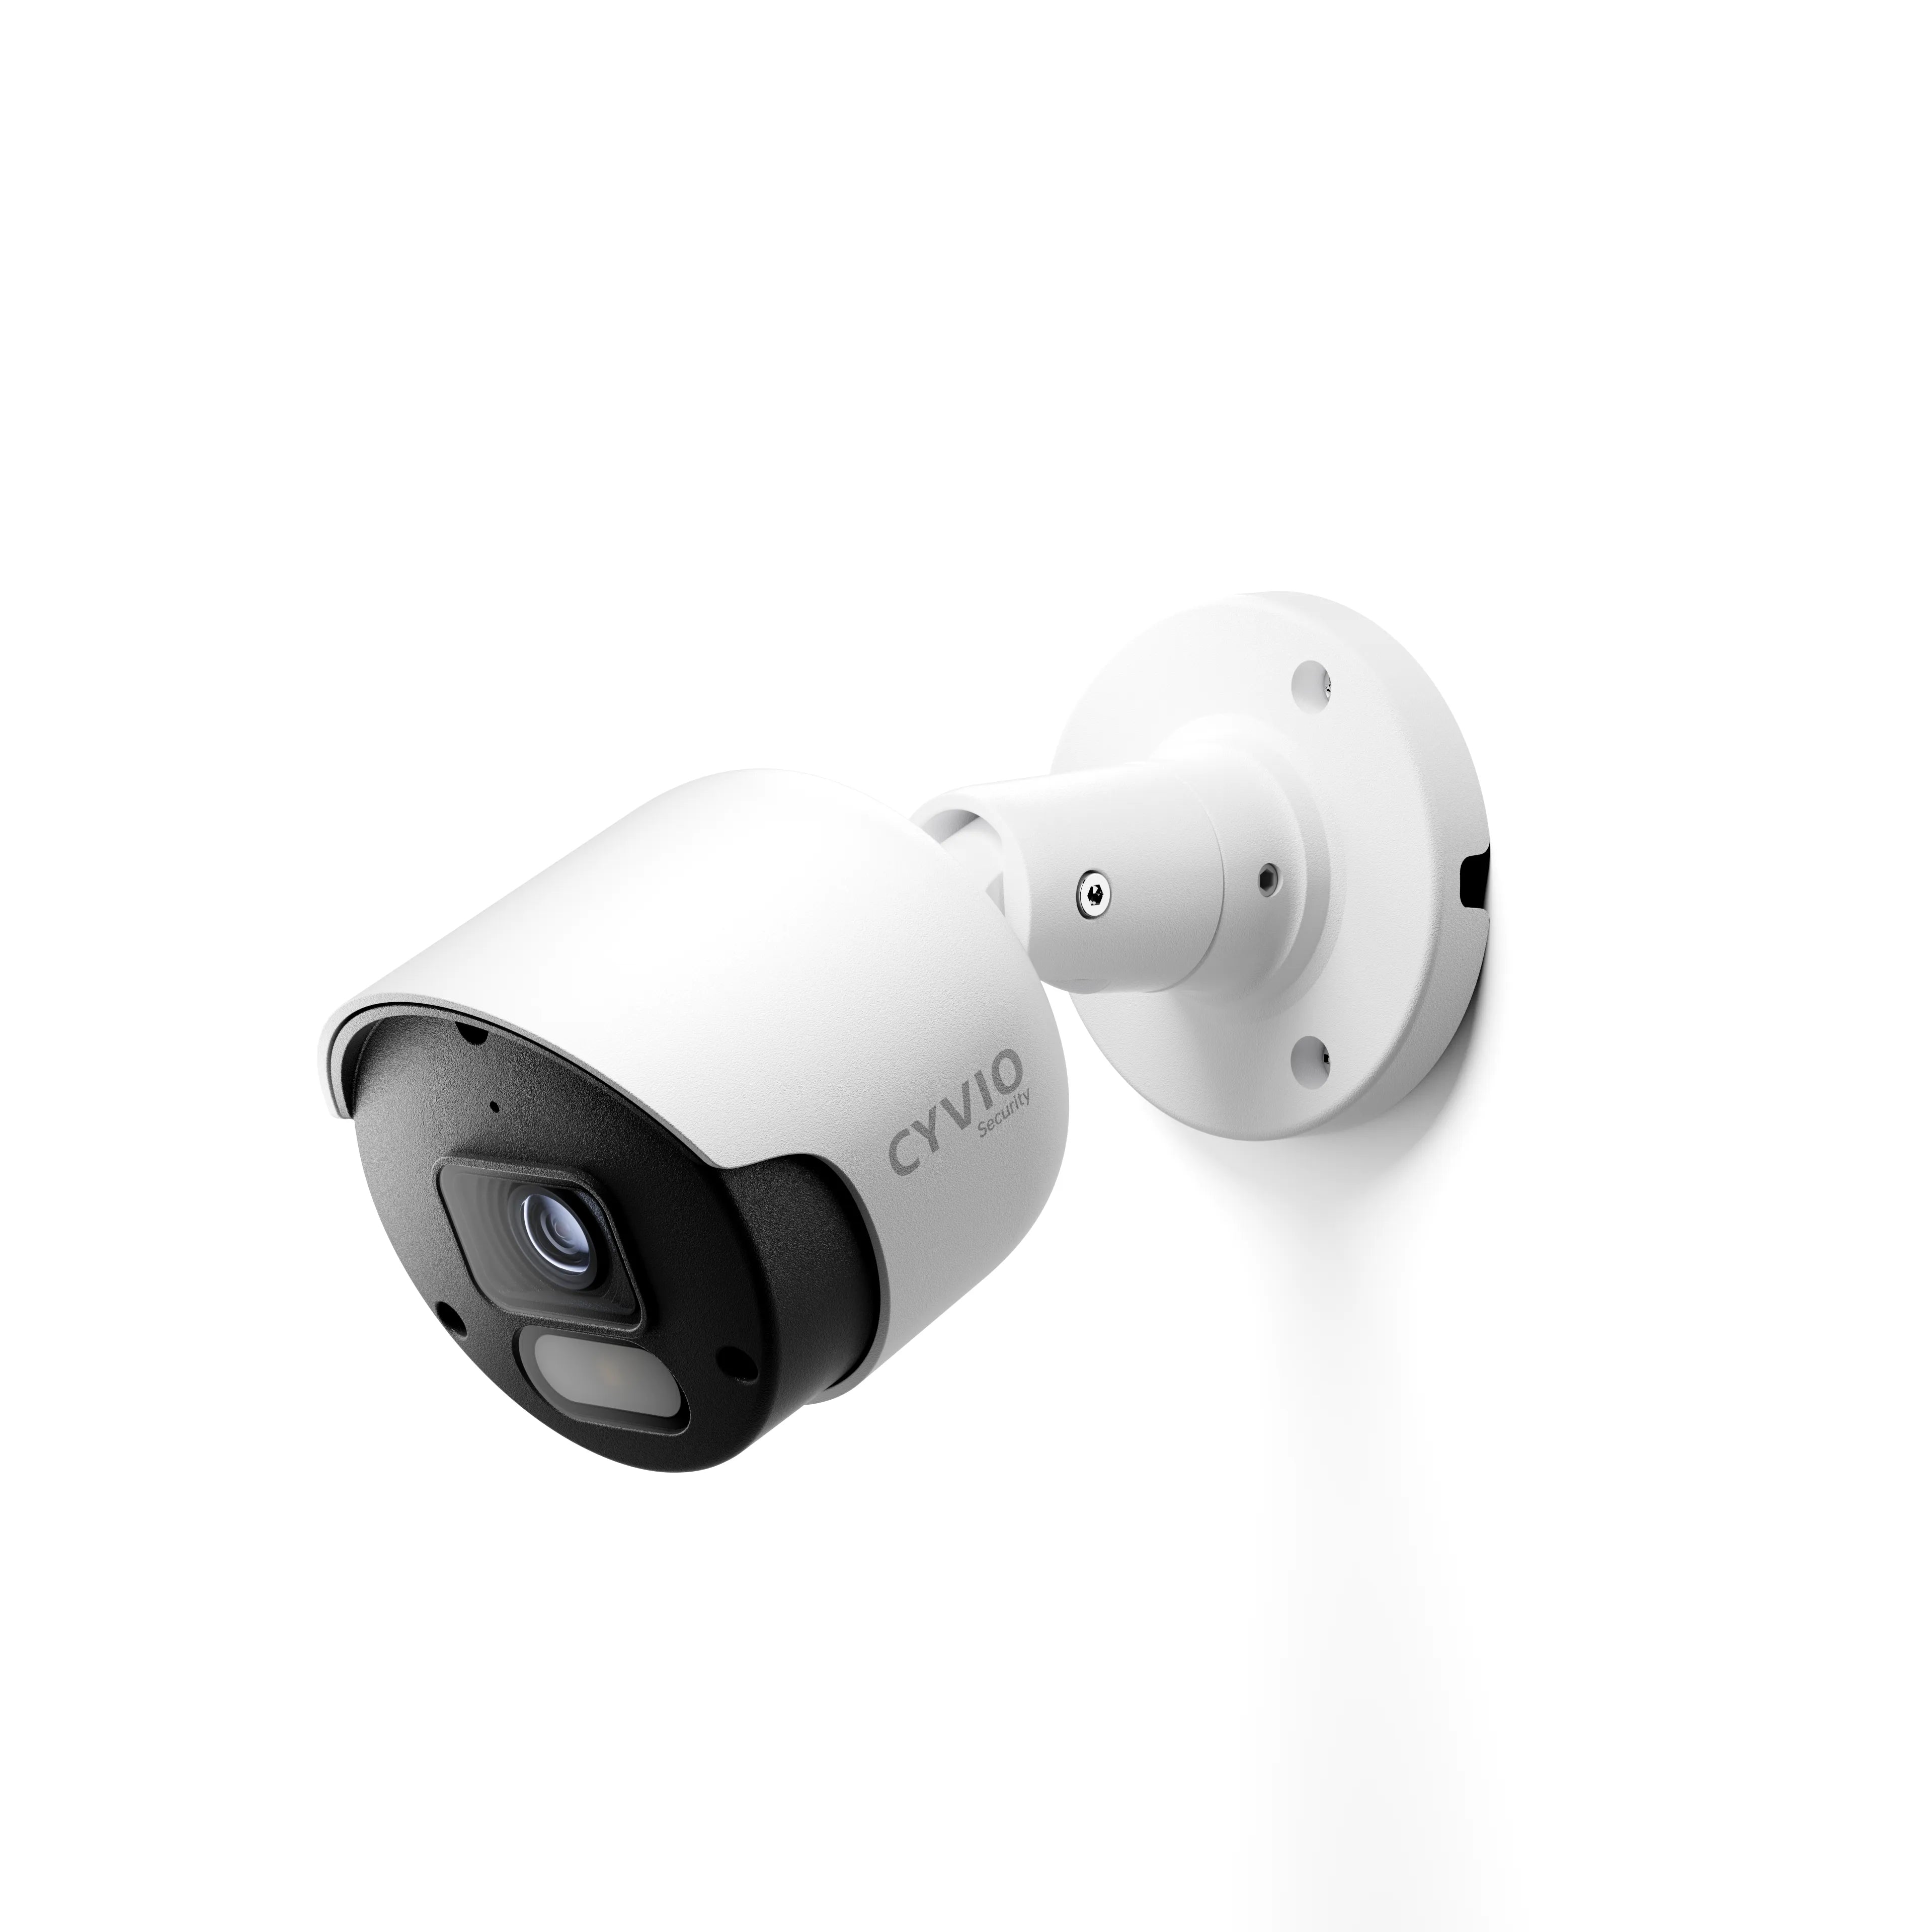
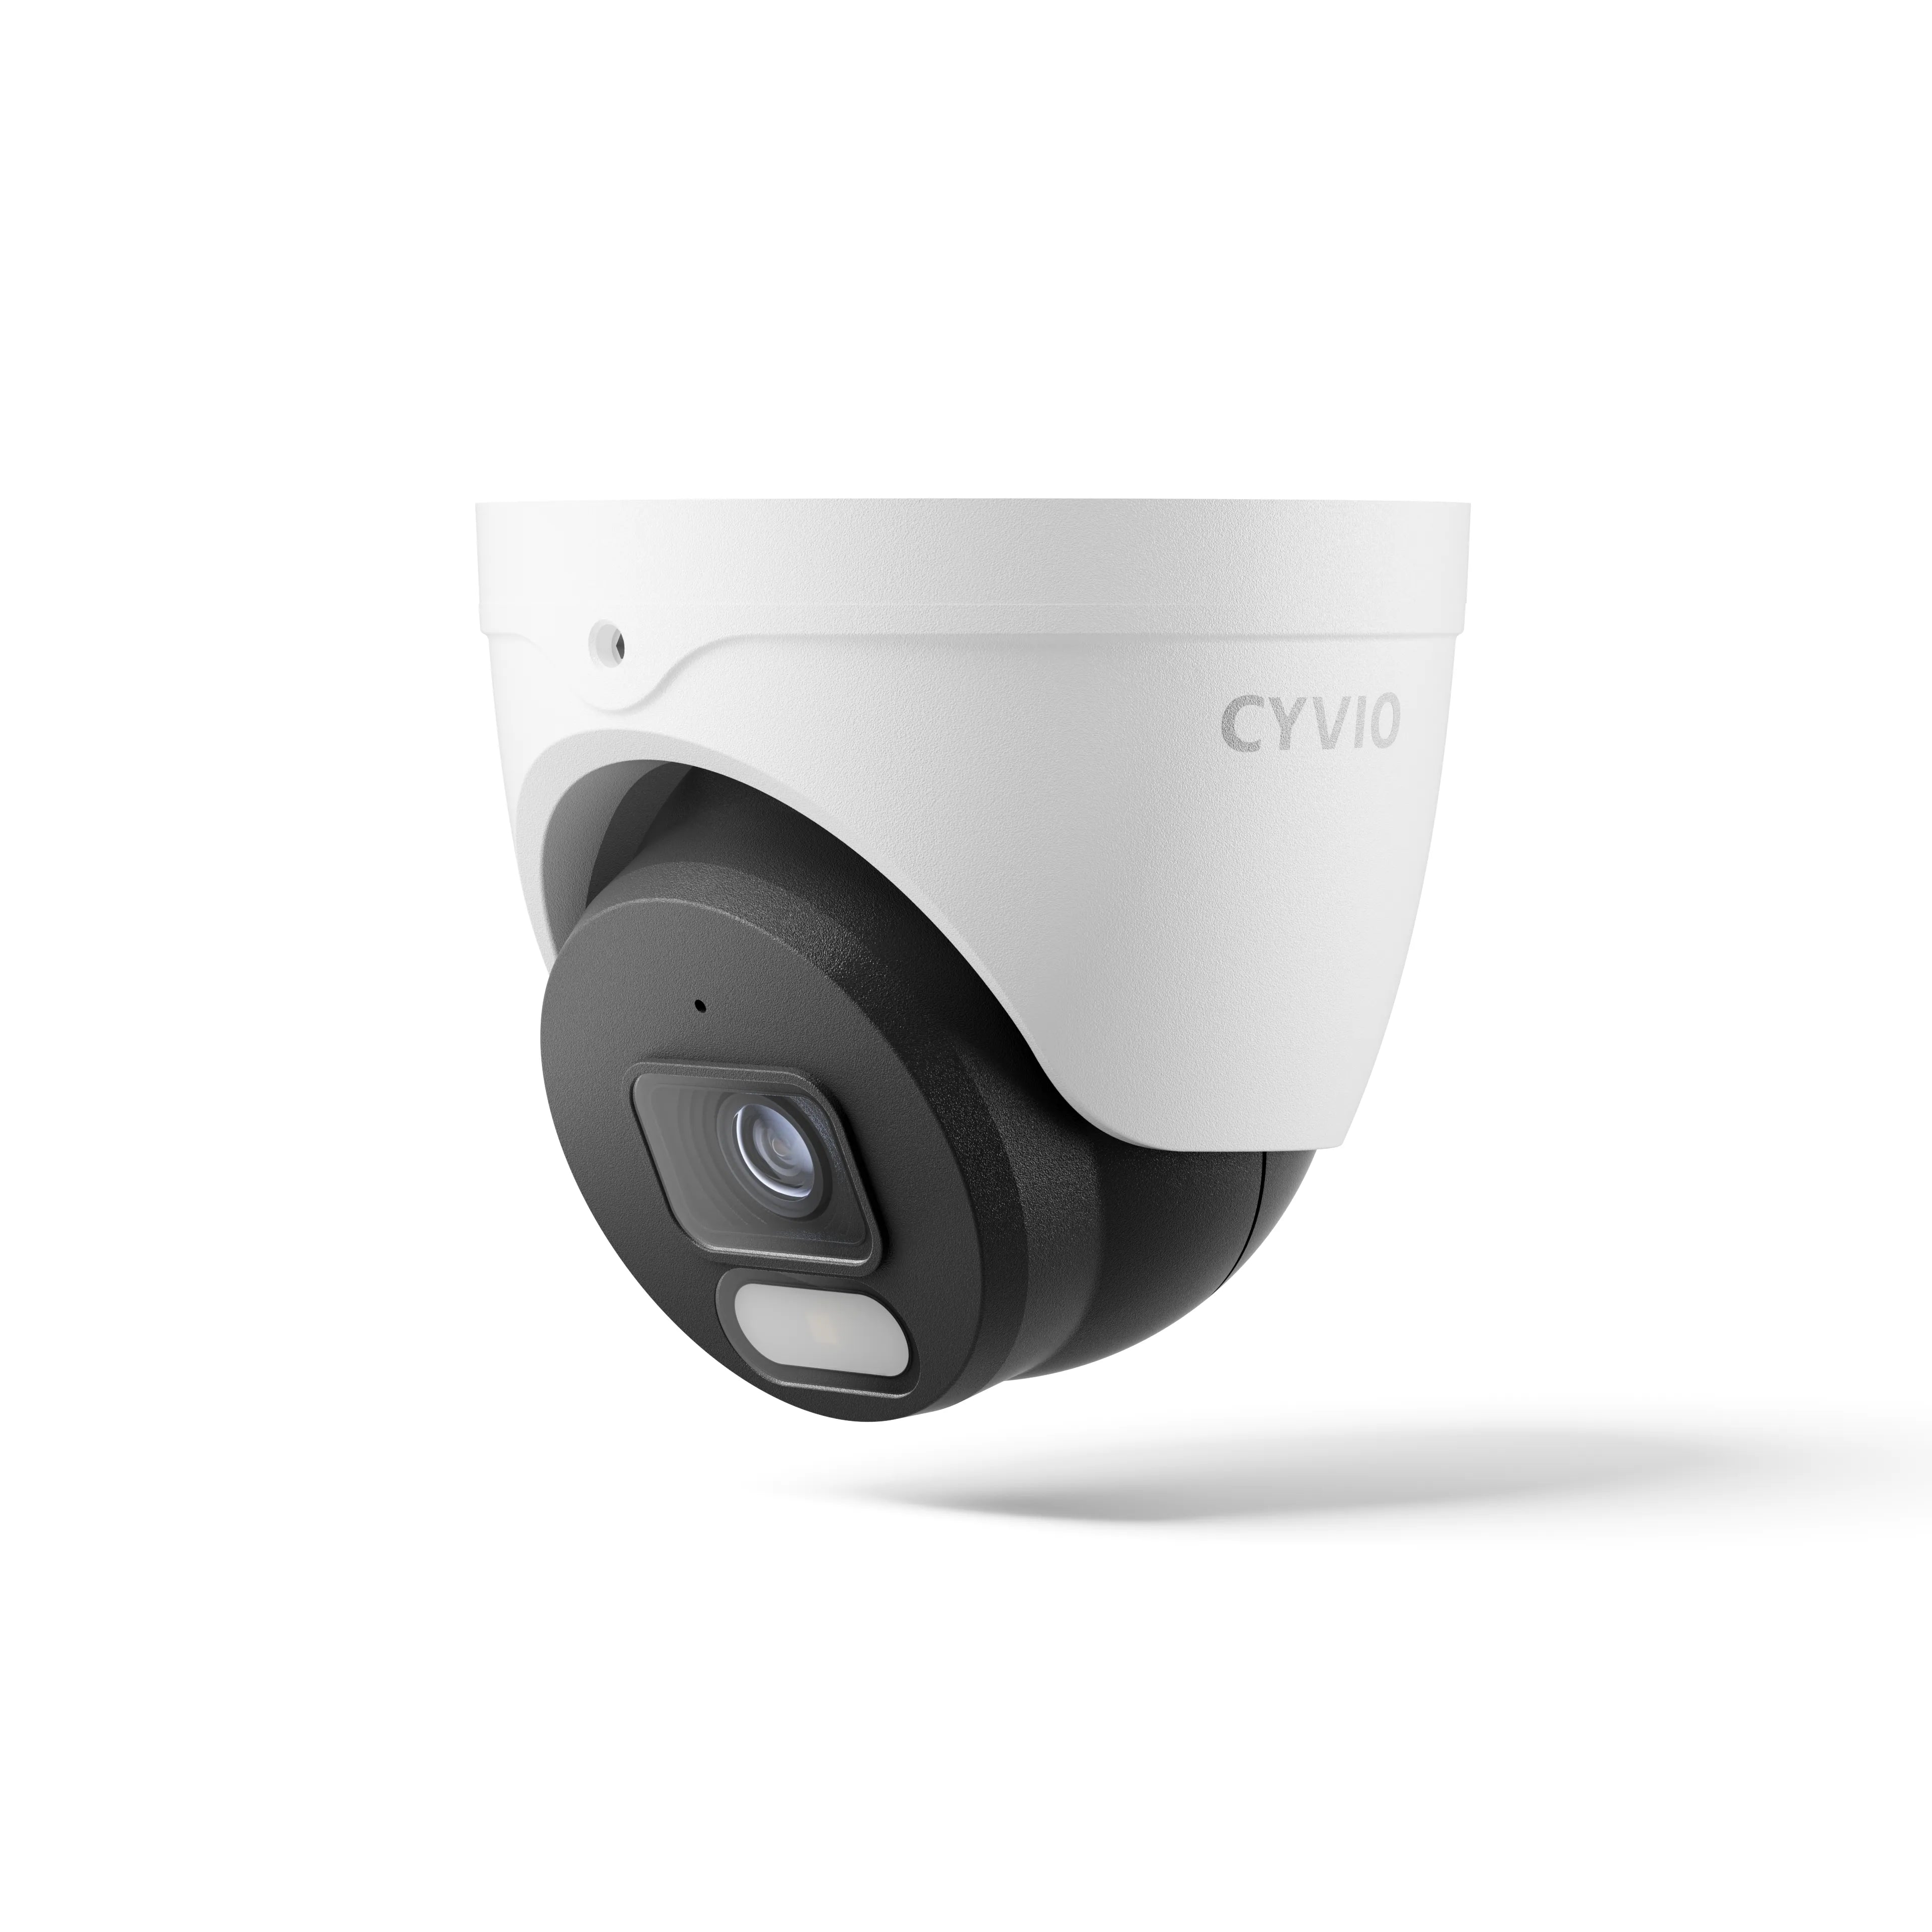
Because the NVR has eight PoE ports while the N2834 kit includes four cameras, compatible additional cameras can be considered if more coverage is needed. CYVIO also currently sells W301 bullet and D101 turret add-on PoE cameras for compatible CYVIO PoE NVR systems.
Basic CYVIO N2834 Installation
CYVIO's current setup flow is simple:
1. Connect the NVR
Connect the NVR to:
- Monitor or TV
- Router
- Power outlet
2. Connect the Cameras
Use Ethernet cable to connect each camera directly to an available PoE port on the NVR.
The same cable provides power and network connectivity.
3. Complete Initial Configuration
Power on the NVR and follow the setup wizard.
The physical cable routing is therefore likely to require more planning than the actual electronic configuration.
CYVIO N2834 Camera Installation Considerations
The N2834 cameras currently use an RJ45 10/100 Mbps network interface with PoE support and are listed with an IP67 weather-resistance rating. CYVIO specifies an outdoor camera operating range of -30°C to 60°C.
For outdoor installation, this means you should still pay attention to:
- Protecting Ethernet connectors
- Selecting suitable outdoor cable
- Mounting securely
- Keeping connectors out of standing water
- Maintaining the camera within its specified environmental conditions
An IP-rated camera housing does not mean an unprotected Ethernet plug should be left exposed to rain.
Bullet vs. Turret Cameras for PoE Installation
CYVIO currently offers PoE systems in both bullet and turret-style configurations.
Each form factor can suit different mounting requirements.
Bullet Cameras
Bullet cameras have an elongated housing and visible direction of view.
They can work well on:
- Exterior walls
- Eaves
- Driveways
- Parking areas
- Building perimeters
Turret Cameras
Turret-style cameras use a compact rotating lens assembly.
They can work well under:
- Eaves
- Ceilings
- Covered entrances
- Indoor commercial areas
Image quality should be evaluated separately from housing shape.
Choose the design based on mounting location, viewing direction, and physical installation requirements.
Common Mistakes When Installing PoE Security Cameras
Mistake 1: Mounting Cameras Before Testing Them
Test every camera at the NVR first.
Otherwise, you may spend hours troubleshooting wiring when the issue was already present before installation.
Mistake 2: Forgetting Nighttime Testing
Daytime footage can look excellent while nighttime footage suffers from IR reflection.
Always check after dark.
Mistake 3: Exposing RJ45 Connections to Weather
Protect connectors even when the camera itself is weather-resistant.
Mistake 4: Installing Cameras Too High
More height does not automatically mean better surveillance.
Very steep angles can reduce useful facial detail.
Mistake 5: Using Poor-Quality Cable
PoE needs the cable to carry both data and electrical power.
Use cable appropriate for the installation.
Mistake 6: Running Ethernet Beside High-Voltage Wiring
Keep separation where practical to reduce electrical interference and improve installation safety.
Mistake 7: Not Labeling Cables
This becomes frustrating when troubleshooting several identical Ethernet cables at the NVR.
Label both ends during installation.
Mistake 8: Forgetting Future Expansion
If your NVR has unused channels, consider future camera locations before closing walls or finishing renovations.
Running an additional cable during construction can be much easier than doing it later.
Mistake 9: Ignoring Storage Requirements
A 4K camera system creates substantial amounts of video data.
Choose HDD capacity based on camera count and desired recording history.
Mistake 10: Using Default Passwords
Create unique credentials during initial setup.
Do this before enabling remote access.
Troubleshooting: PoE Camera Has No Power
If a camera does not turn on:
- Check whether the Ethernet cable is fully inserted.
- Try another PoE NVR port.
- Test the cable.
- Try a known-good short Ethernet cable.
- Connect another known-working camera to the same port.
This isolates the problem.
For example:
Camera works with short cable → likely cable-run problem
Another camera works on the port → likely original camera/cable problem
No camera works on one port → investigate NVR port
Troubleshooting one component at a time is much faster than changing several things simultaneously.
Troubleshooting: Camera Has Power but No Video
If the camera appears powered but does not display video:
- Confirm compatibility with the NVR
- Check camera status in the NVR
- Restart the camera/NVR if appropriate
- Inspect network configuration
- Check whether the camera has been manually assigned an incompatible IP address
- Test with a known-good cable
For plug-and-play systems, compatible cameras should usually require relatively little network configuration.
Third-party IP cameras may require manual setup even if they support PoE.
Troubleshooting: Camera Keeps Disconnecting
Intermittent camera connections can result from:
- Poor Ethernet termination
- Damaged cable
- Excessive cable length
- Moisture in the connector
- Insufficient PoE power
- Faulty NVR port
- Network configuration problems
Outdoor connection points deserve particular attention when the issue begins after rain.
Moisture-related problems may appear intermittent before the camera stops communicating entirely.
Troubleshooting: Remote Viewing Does Not Work
If cameras work on the NVR but not on the mobile app:
Check whether:
- NVR is connected to the router
- Router has internet access
- NVR network status shows online
- Correct app account is being used
- Device has been added correctly
- Mobile data is permitted for the app
Test the system locally first.
If local camera recording works, the problem is more likely related to network or remote-access configuration than camera power.
PoE Camera Installation Checklist
Use this checklist before considering installation complete:
| Check | Confirm |
|---|---|
| Camera positions | Important areas are covered |
| Ethernet cables | Tested and labeled |
| Outdoor connectors | Protected from moisture |
| Camera mounting | Secure |
| NVR ventilation | Adequate |
| Camera feeds | All channels online |
| Date and time | Correct |
| Camera names | Descriptive |
| Recording | Verified |
| Hard drive | Recognized |
| Motion zones | Configured |
| Night vision | Tested after dark |
| Router connection | Working |
| Mobile app | Remote viewing tested |
| Passwords | Changed from defaults |
| Firmware | Reviewed for updates |
When Should You Hire a Professional Installer?
Many residential PoE kits are suitable for DIY installation, but professional help may be worthwhile when:
- Cameras need to be installed several stories high
- Cable must pass through difficult wall cavities
- Fire-rated penetrations are involved
- Commercial building codes apply
- Underground cable is required
- Fiber networking is needed
- The installation involves multiple switches or VLANs
- You are unsure about hidden electrical or plumbing lines
The electronic setup of a PoE system is often relatively straightforward.
The building and cable-routing work is where installation complexity usually increases.
FAQs About Installing PoE Security Cameras
Is installing a PoE security camera difficult?
The network connection itself is relatively straightforward in a compatible plug-and-play NVR system because one Ethernet cable carries both power and video. Physical cable routing through walls, ceilings, or outdoor spaces can be the more difficult part.
What cable do I need for PoE security cameras?
CAT5e and CAT6 Ethernet cables are commonly used. Choose suitable cable quality and use outdoor-rated cable when the installation environment requires it.
Does a PoE camera need a separate power cable?
Not when connected to a compatible PoE source. Power and data travel through the Ethernet cable.
Can I plug a PoE camera directly into an NVR?
Yes, when the NVR has compatible built-in PoE camera ports. Systems such as the CYVIO N2834 use this configuration.
Do PoE cameras need Wi-Fi?
No. A standard PoE camera uses wired Ethernet for network communication.
Do PoE cameras need internet?
Internet is generally not required for local recording between compatible cameras and an NVR. Internet access is used for functions such as remote viewing and mobile notifications.
Do PoE cameras work during an internet outage?
A locally configured PoE system can continue operating between cameras and the NVR while the local equipment has power, although internet-dependent remote functions may be unavailable.
Can I use CAT6 instead of CAT5e?
Yes, when the camera and network equipment use standard Ethernet connections.
How far can I run Ethernet to a PoE camera?
Standard copper Ethernet links are generally designed around a maximum channel length of approximately 100 meters or 328 feet. For greater distances, additional networking equipment or a different topology may be required.
Can I add more cameras later?
Yes, if the NVR has available channels, sufficient PoE capacity, compatible camera support, and adequate storage/network resources.
For example, CYVIO's N2834 uses an eight-channel PoE NVR while the standard kit includes four cameras, leaving additional compatible camera channels available.
Can PoE cameras record continuously?
Many PoE systems support continuous recording. The CYVIO N2834 currently supports 24/7 recording to its local NVR storage.
How much storage does the CYVIO N2834 have?
The current N2834 kit includes a 2TB HDD, and its NVR supports one SATA hard drive up to 16TB.
Can I view CYVIO PoE cameras on my phone?
Yes. Compatible CYVIO PoE systems support mobile viewing through the CYVIO app, including live view, notifications, and recorded-footage review.
Are CYVIO PoE cameras suitable for outdoor installation?
The N2834 cameras are currently listed with an IP67 weather-resistance rating and an operating temperature range of -30°C to 60°C. Installation should still protect cable connections and follow the manufacturer's environmental requirements.
Conclusion: Installing PoE Security Cameras
Successfully installing PoE security cameras involves much more than simply plugging a camera into an Ethernet port.
A reliable installation begins with planning the areas you need to monitor, choosing appropriate camera positions, designing practical cable routes, and selecting suitable Ethernet cable. From there, each camera can be connected to a compatible PoE NVR or switch using a single cable for both power and data.
For a typical NVR-based system, the process can be summarized as:
Plan locations → Test cameras → Run Ethernet → Mount cameras → Connect to PoE NVR → Configure recording → Adjust camera views → Test night vision → Set up remote access
Systems such as the CYVIO N2834 illustrate this approach clearly. Its compatible PoE cameras connect directly to an eight-port PoE NVR using Ethernet, while the recorder provides local storage, 4K recording, multiple night-vision modes, smart detection, and mobile access through the CYVIO app.
The biggest advantage of planning carefully is not simply making installation easier. Good cable routing, appropriate camera placement, protected outdoor connections, adequate storage, and correct system configuration make the surveillance setup easier to use and maintain after the physical installation is finished.


